
You often hear folks mention over-editing this photo or perhaps over-editing that photo, but you rarely hear anyone mention any struggles related to under-editing. I’m not certain if under-editing is even a term or maybe it’s just something I made up, but I can certainly attest to the fact that under-editing has been a much greater long term issue for me personally as opposed to that of over-editing. Now as far as beginners or those just getting started are concerned, over-editing probably is the bigger issue, but as you progress I’ve found that recognizing when you’re over-editing becomes substantially easier to identify and resolve than that of under-editing. In this article I want to share with you 5 signs that you just may be under-editing your landscape photos and much like many of my articles I’ve rated these signs by order of severity as they pertain to my own post processing workflow.
#5 Loose Crops
The interesting thing about this one is that it’s sort of time released as I find this is difficult to initially see rather it could take a couple weeks or even months to realize that a tighter crop could result in a more focused composition. With the popularity of wide angle lenses for landscape photography it’s easy to capture more scene than you actually need to tell the story of your composition. The below example I think illustrates this one perfectly. By tightening up the crop I was able to remove the boring sky along with all the distracting elements in the background and along the sides of the image, thus creating a composition that identifies the main subject much more clearly.

#4 Flat Colors
This was and still is a very common struggle of mine as I generally like a somewhat muted color palette, but sometimes I take it a bit too far or I guess I should say I don’t take it far enough. Since many of us often or always shoot in a RAW format, we commonly find ourselves with images that have dull colors that we need to correct during post processing. There’s many different methods to do this, but one of my favorite ways is by starting off in the Calibration section within Lightroom and adjusting the Red, Green, and Blue primary color channels. I’ve always found this to be a great initial step for bringing the colors back to life within your image. If you’re not familiar with this section it’s certainly worth playing with the next time you edit one of your landscape images.


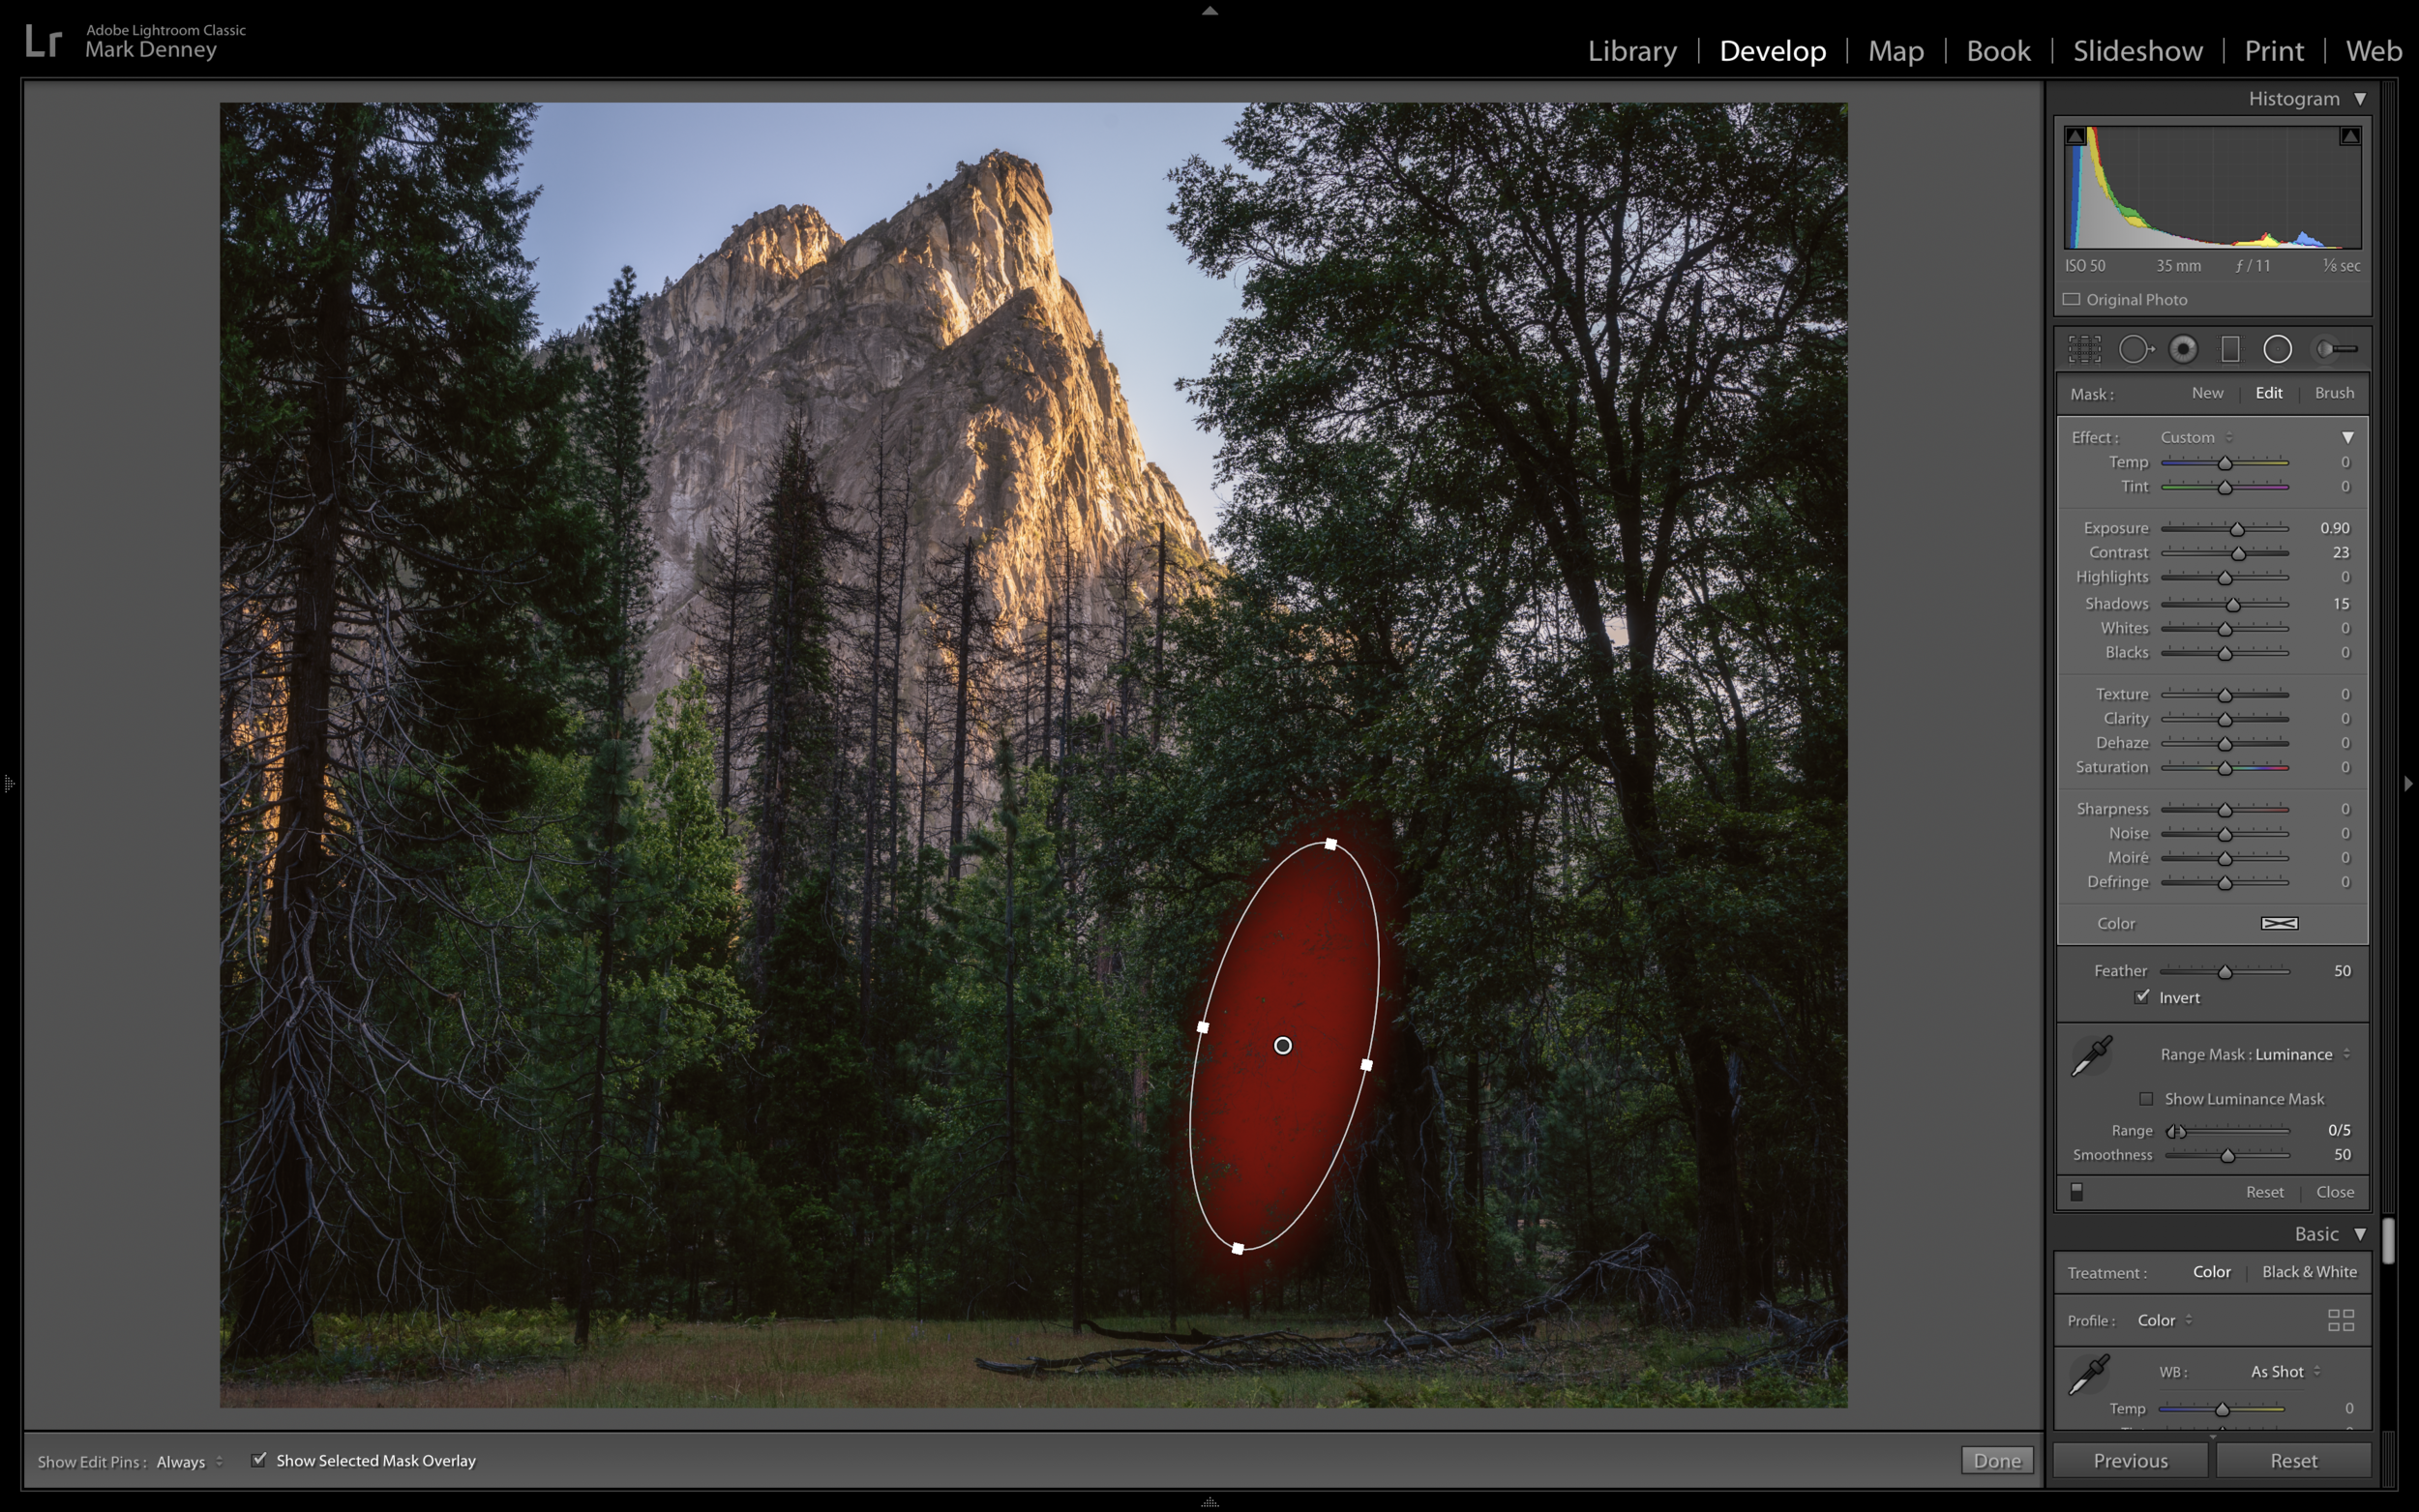
#3 Muddy Shadows
This doesn’t happen too terribly often, but when it does it can absolutely ruin your photograph. This occurs when there’s a large area of your image in deep shadow that appears to be a blob of muddy darkness. From my experience, using a luminance range mask in Lightroom is a great way to bring out just a touch of detail so the area isn’t quite so distracting. There’s multiple different ways to resolve this by using local adjustments inside of Lightroom, that way you don’t have to make any global adjustment that impact your entire image in an effort to fix a singular area.
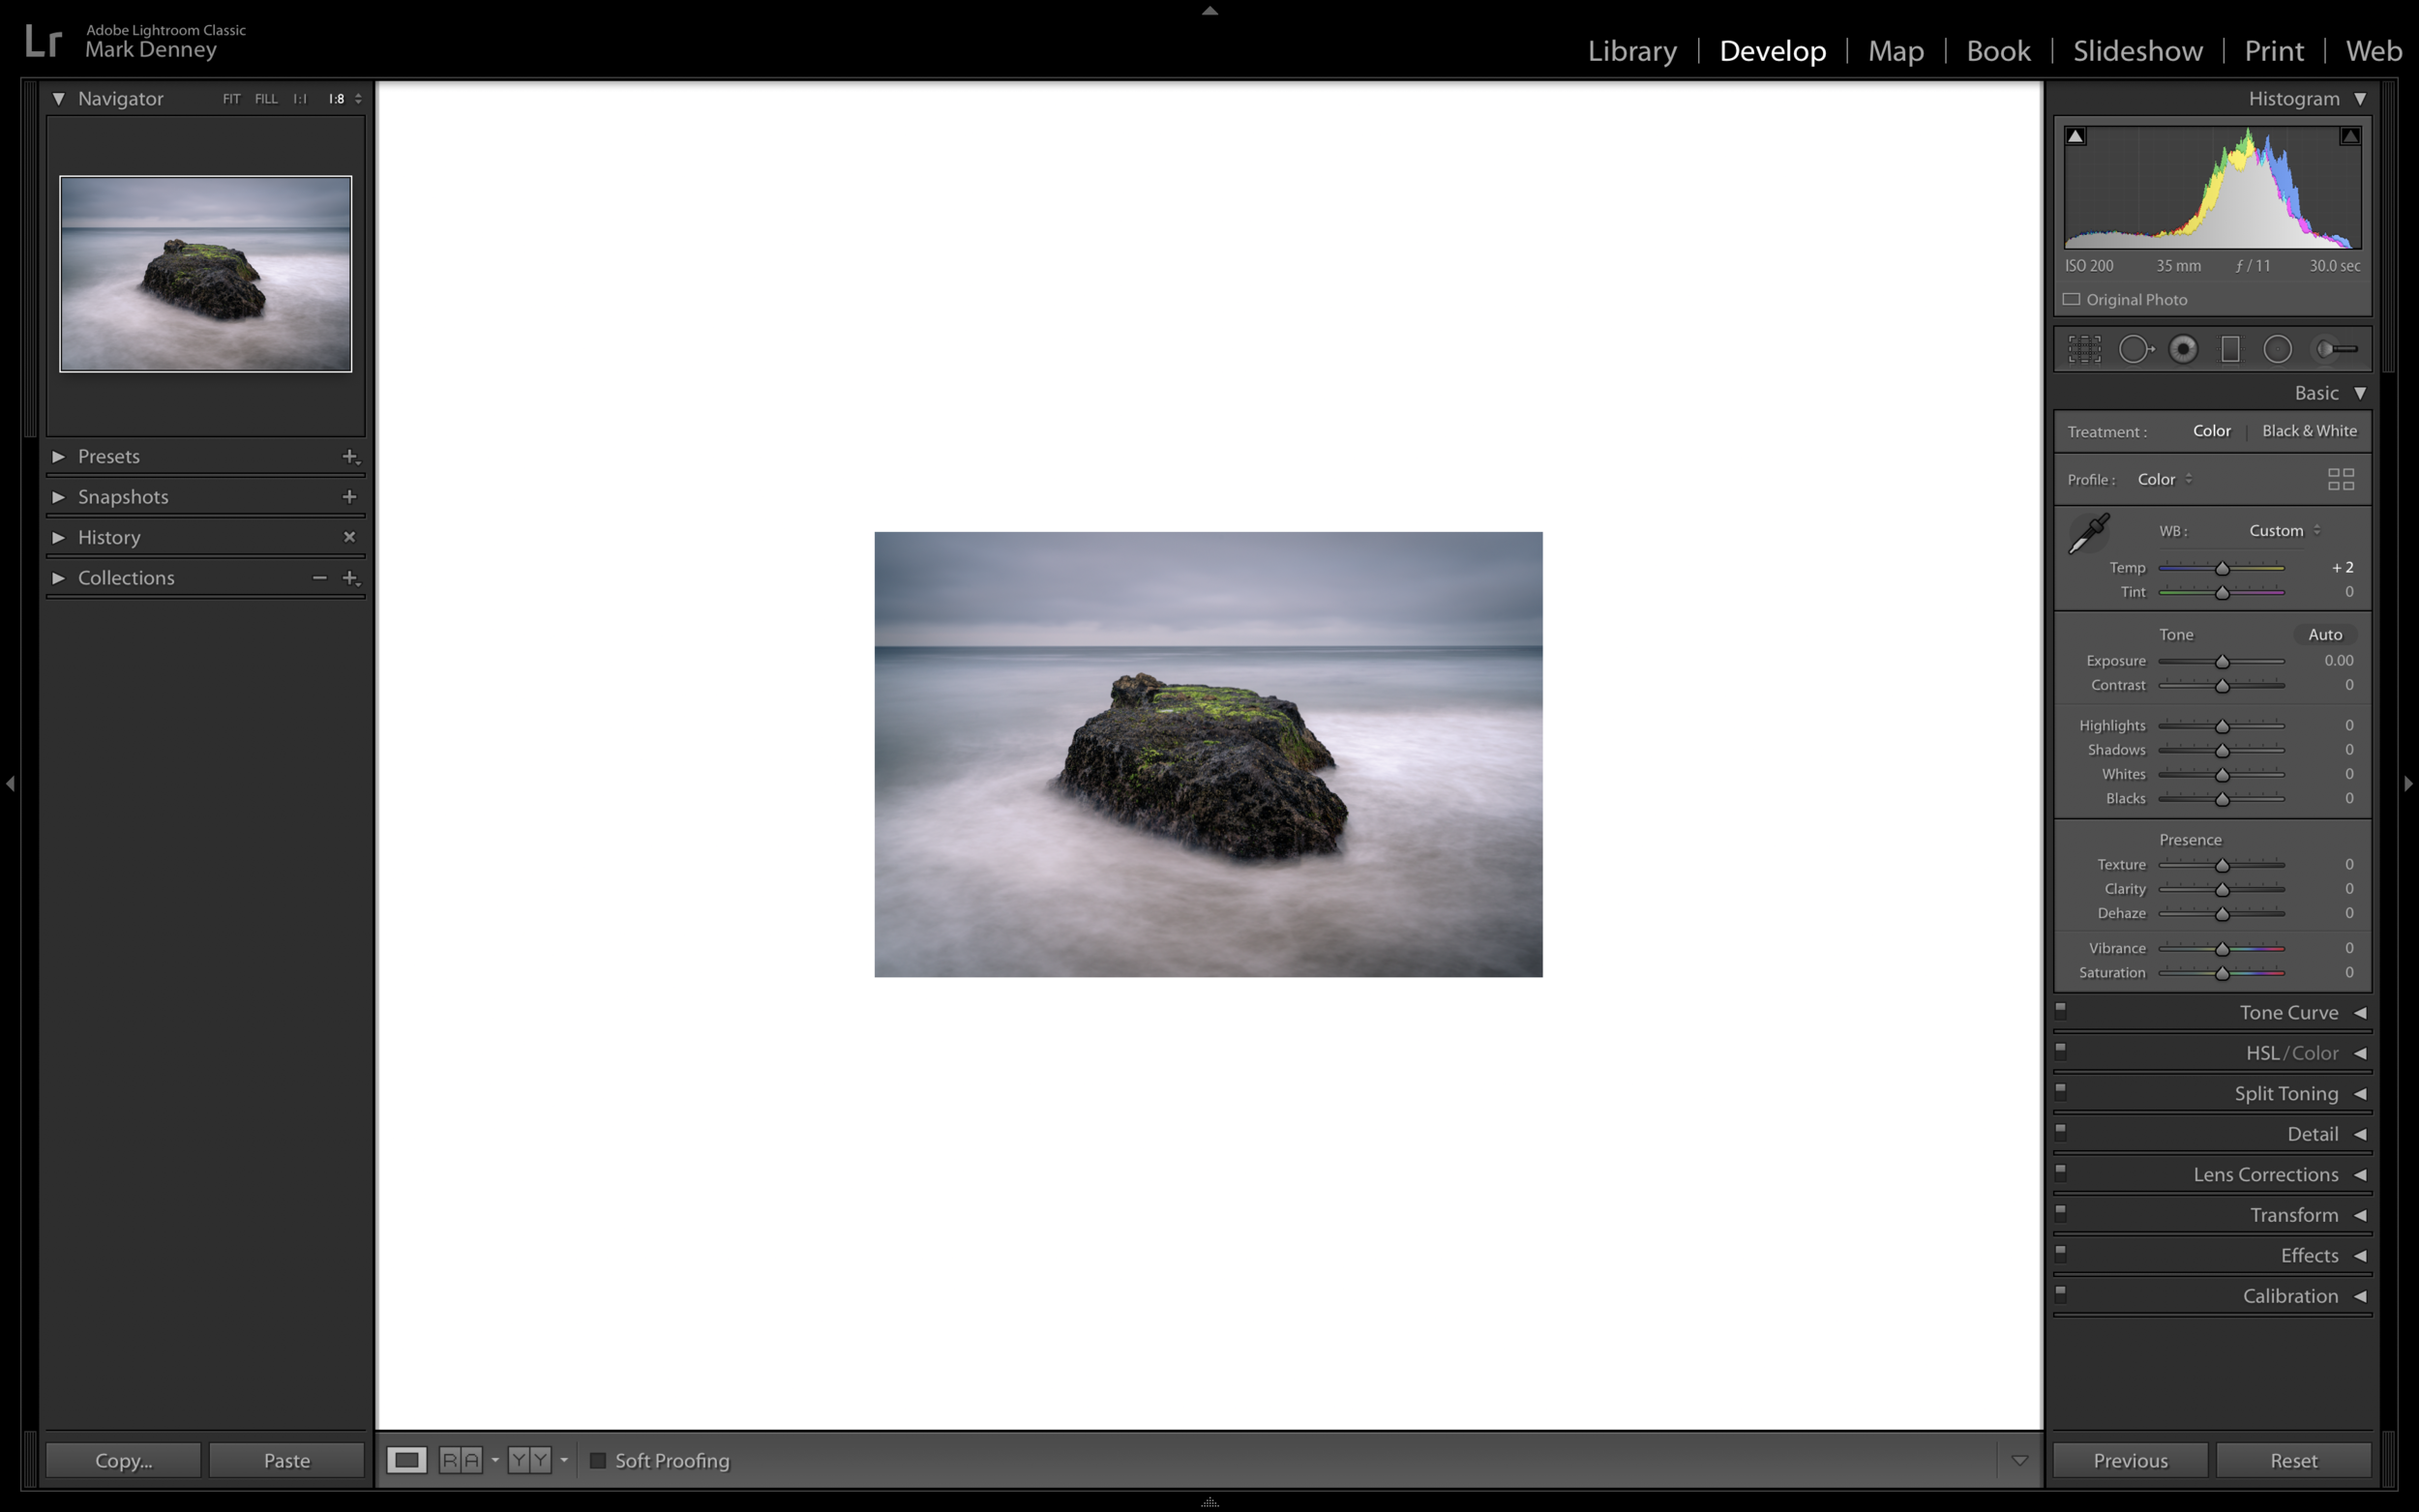
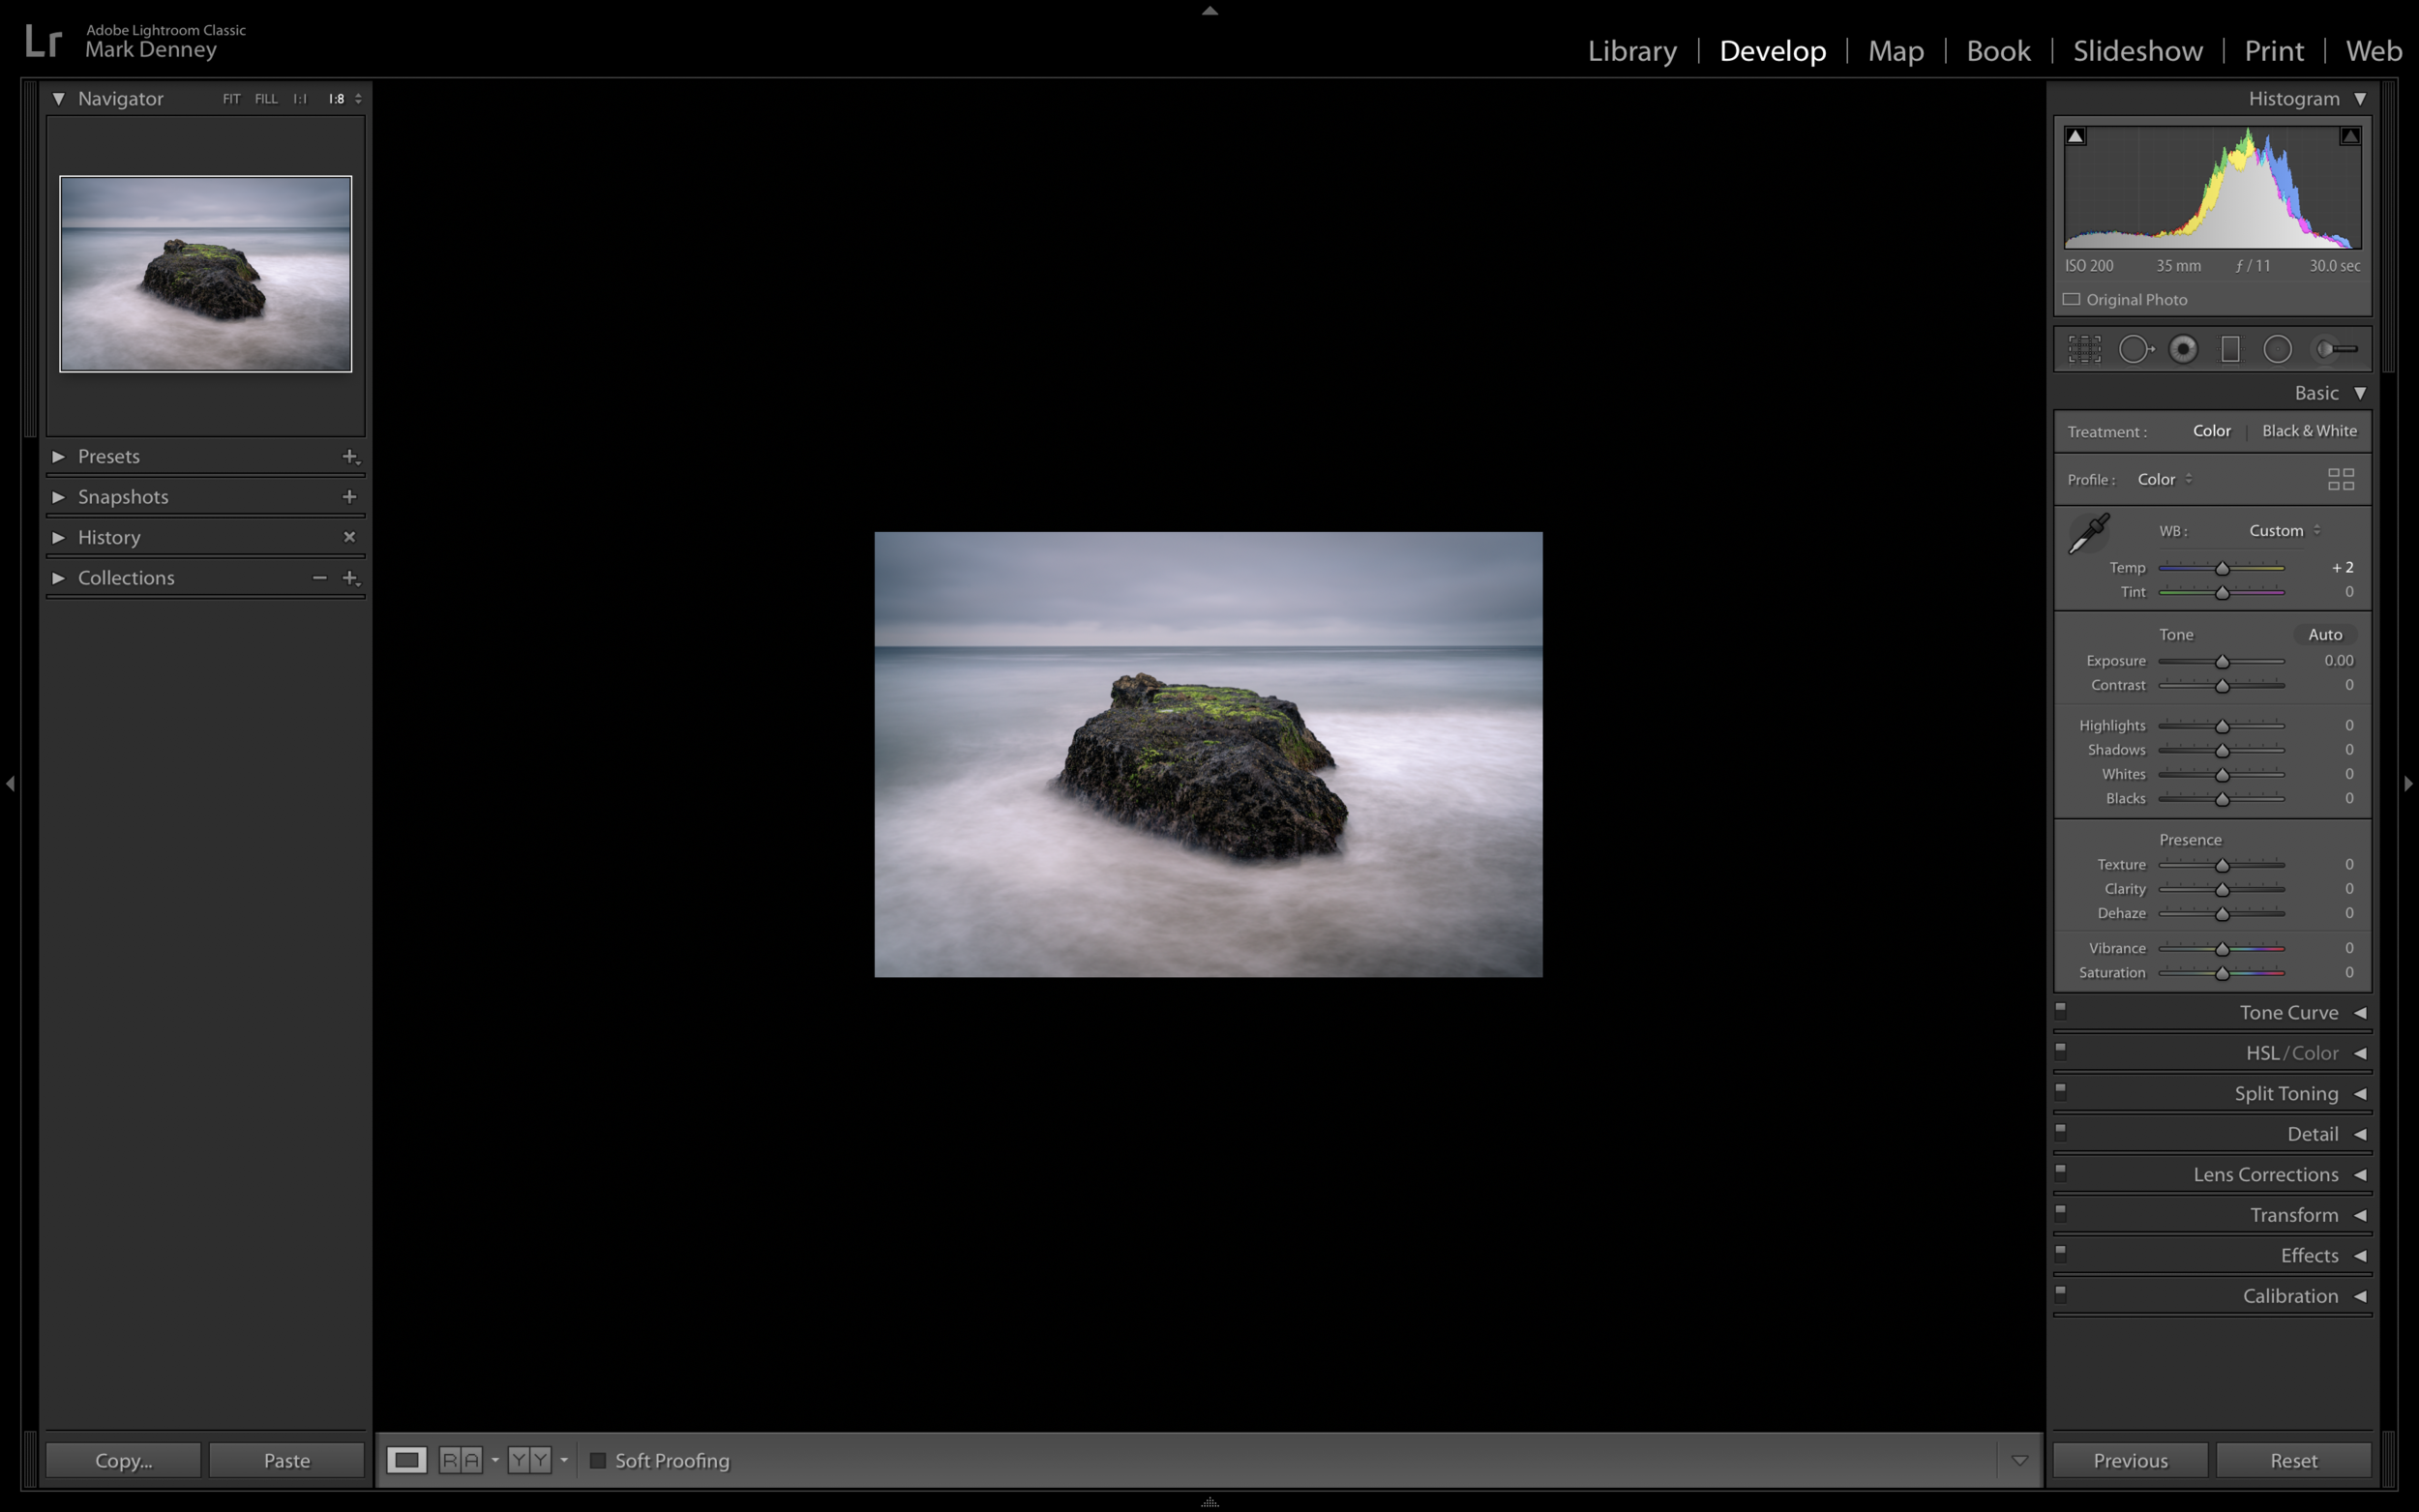
#2 Dim Light
This has plagued me from day one and I’m not certain as to why I struggle with it so much, but I almost always under expose my images too much during post processing, but this trick has certainly helped me to resolve this issue. I usually will under expose my images a touch while on-location, but when I get the images home I often struggle with accurately correcting this in post. The trick that helped me solve this is when you’ve completed your edit and just before you export your photograph, change the background color surrounding your image to white and give your eyes a minute to adjust, then change the background color to black. This extreme swing in brightness will provide you with a better frame of reference to determine if the exposure of your image is appropriate or if it requires additional tweaking.
#1 Contrast Deficit
Contrast is one of those things that can really make or break your photo. Too much contrast and your shadows get too dark and colors become over saturated, too little contrast results in an overly washed out and flat looking image. My common struggle always falls on the latter scenario where I don’t add enough contrast in my images, but by creating a few different scenarios to examine by using the virtual copy function inside of Lightroom you can easily solve this. Using the shortcut (Command + apostrophe) or (Alt + apostrophe on PC) this is an easy way to create virtual copies that way you can review the differing versions in order to determine which looks best. The example below shows an image with subtle contrast in the top left, an image with medium contrast in the top right and an image with strong contrast towards the bottom. In this scenario I felt the image with strong contrast was the winner.

So I hope this article provided you with some useful information that you can use the next time you find yourself in a situation that could be the result of under-editing!
Thanks for reading!
-Mark