
In this rundown, I'll walk you through the last seven steps I take to polish my landscape photographs. In essence, these are the finishing touches I apply to transform a dull and lifeless RAW image into a captivating photograph with soul. From softening details to adding a subtle white border, each move plays a crucial role in shaping the final outcome.
Step 1: Soften Larger Details: Art of Subtlety
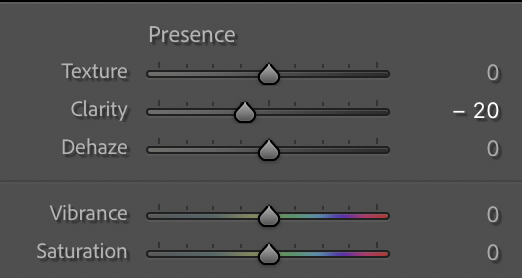
I’m often asked why I choose to soften my photographs since I shoot with such a high-resolution camera, FujiFilm GFX100s. The short answer, I find that digital cameras today create overly sharp and detailed photographs that often results in a crunchy or sterile look. By delicately reducing clarity, which softens large sized detail, my aim is to achieve a more rich and painterly effect while enhancing the overall appeal of the image. For me, this is a great way to get away from the overly sharp and digital feeling many modern cameras create.
Step 2: Balance Softness & Definition
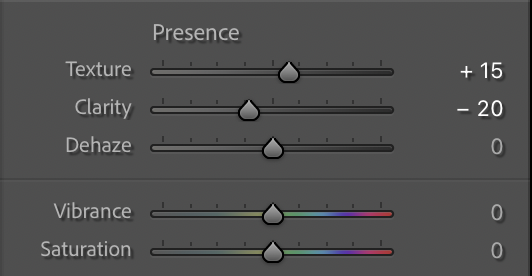
Now, onto enhancing the smaller details. While it may seem counterintuitive after softening the larger detail, it's all about striking the perfect balance. By delicately increasing texture, we bring out those intricate details without sacrificing the softness achieved earlier. It's a delicate dance between clarity and texture, each contributing to the final aesthetic. This meticulous approach ensures that every element of the landscape is accentuated, from majestic mountains to delicate foliage.
Step 3: Custom Dehaze: Preserving Atmosphere
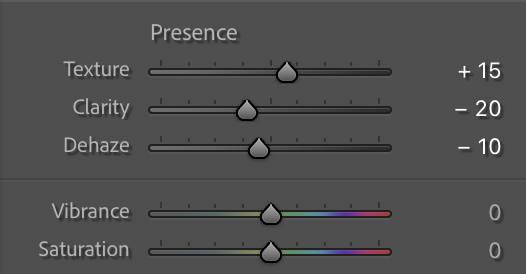
Dehaze – a powerful tool when used thoughtfully. Instead of the traditional approach of sliding the Dehaze slider to the right, I opt for negative dehaze to maintain the atmospheric allure of the scene. This subtle adjustment not only preserves the natural beauty, but also adds a touch of ethereal charm to the photograph. I find this technique adds to the overall softening approach while also reducing overall contrast.
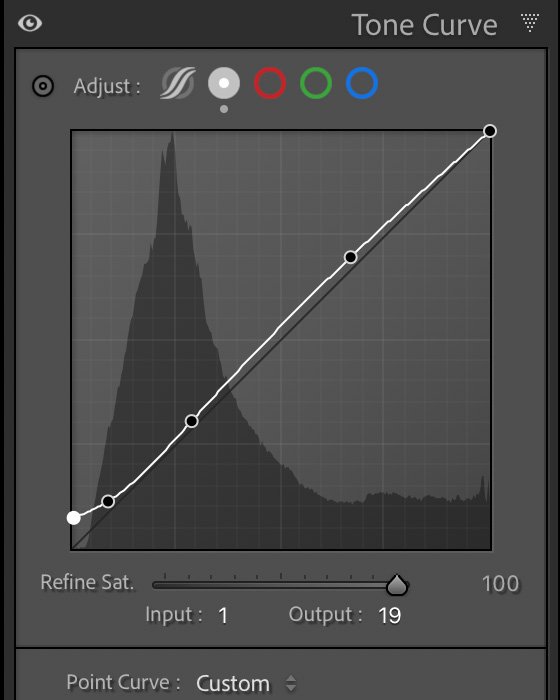
Step 4: Infusing Soul with the Tone Curve
The tone curve is a powerful tool for creating subtle yet impactful tweaks to an image. By lifting the black point and adjusting the midtones, you can fade the shadows, reminiscent of film photography, while adding a soft and rich feeling to your photograph. It's about infusing that soulful quality, transcending the typical digital photography realm which traditionally consists of deep black tones and overly sharp details.
Step 5: Adding a Dreamy Aura
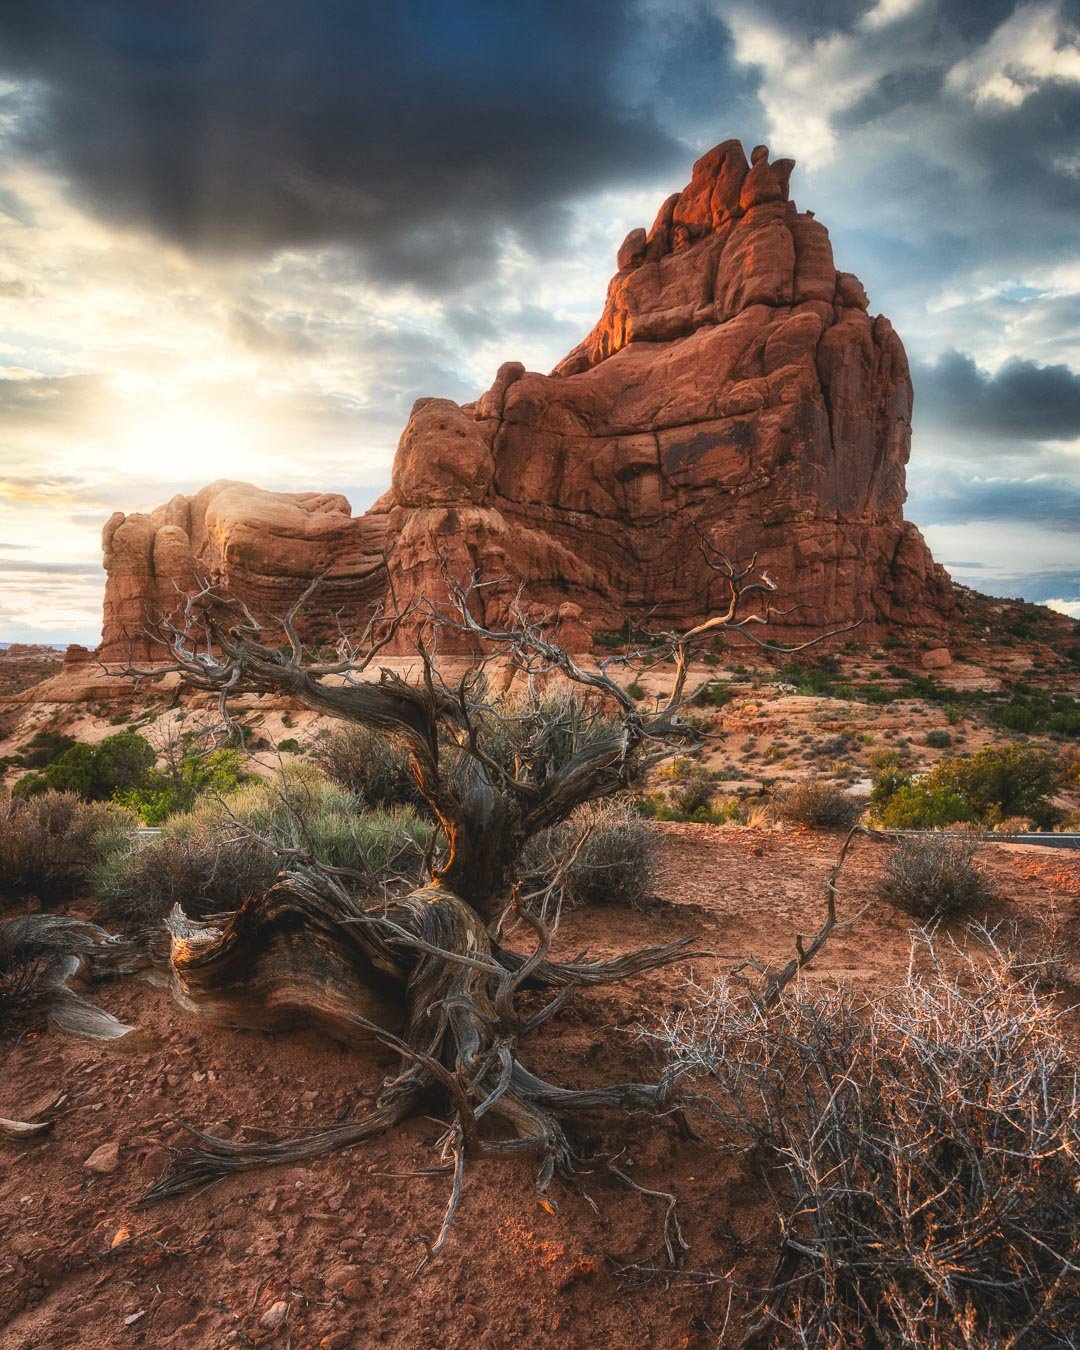
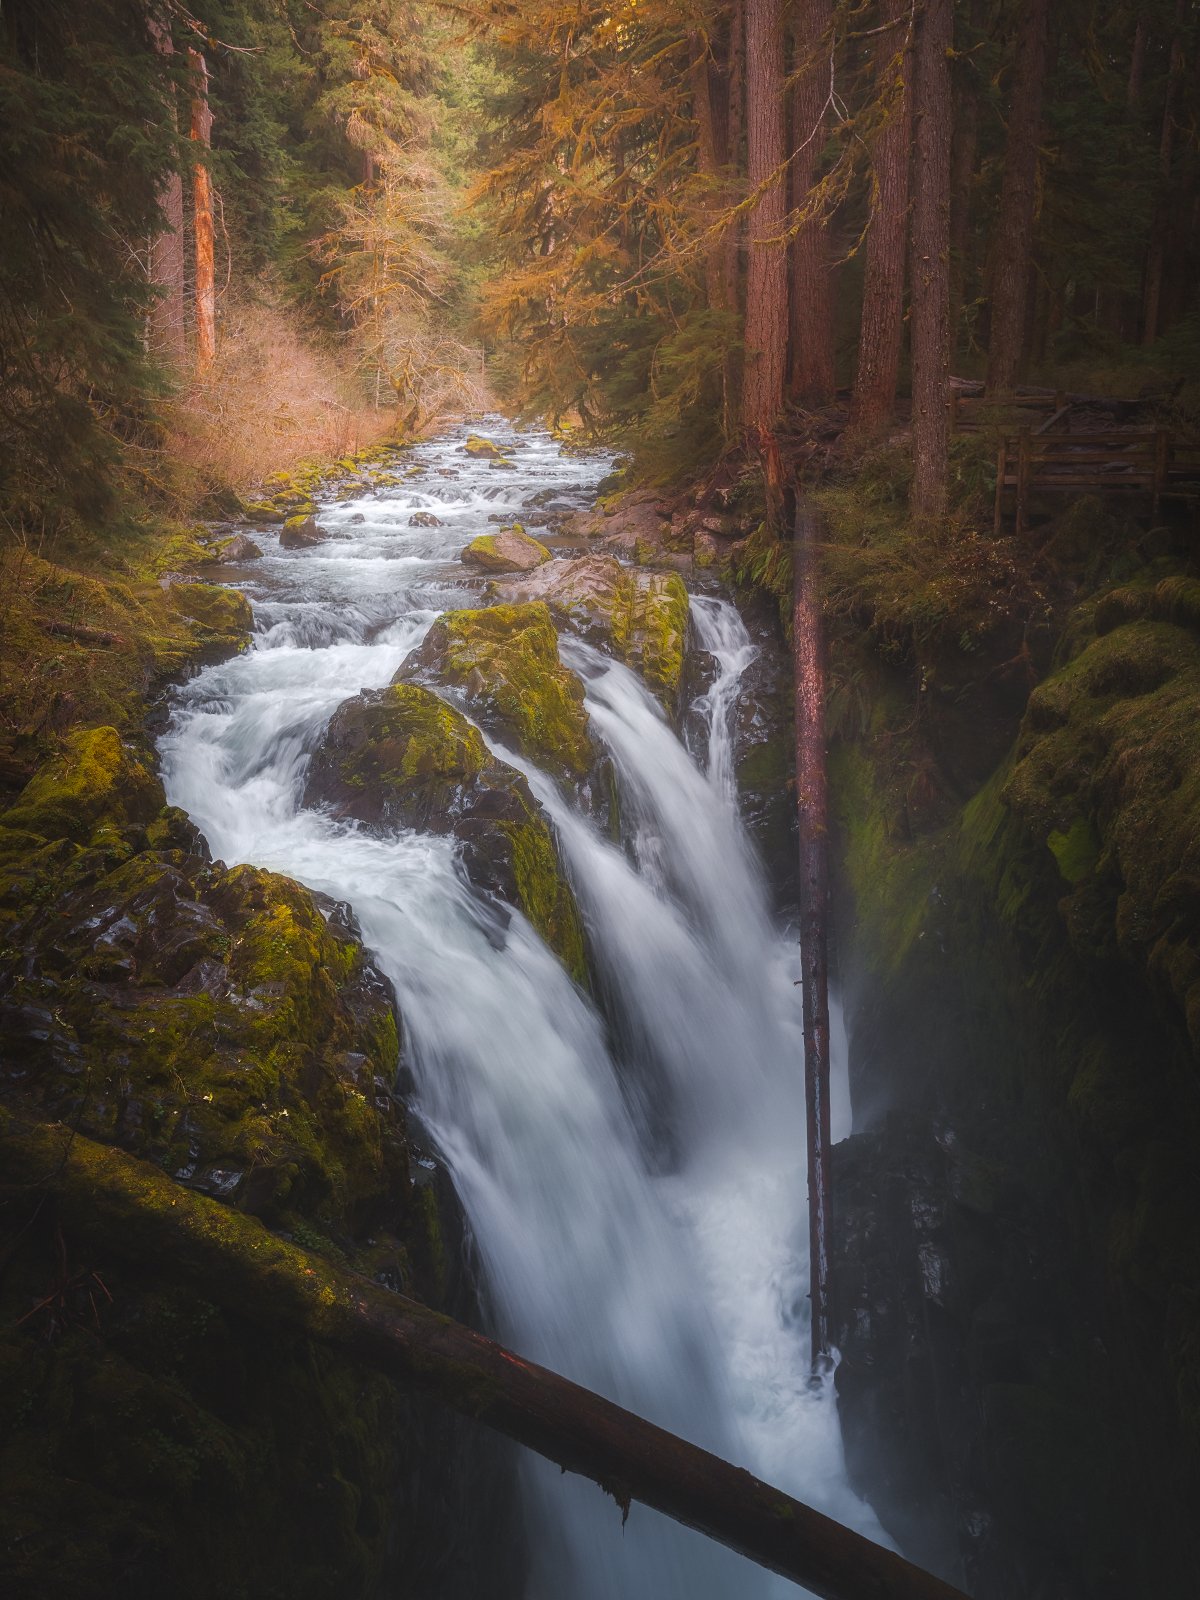
The Orton Effect is an ethereal technique that softens the image, while adding a subtle glow creating a dreamy quality. With meticulous precision, I selectively apply this effect to illuminate the highlights, as this is the area that typically would “glow” as opposed to shadows. Here is a video on how I do this in Lightroom and Photoshop.
Step 6: Composition Clean Up
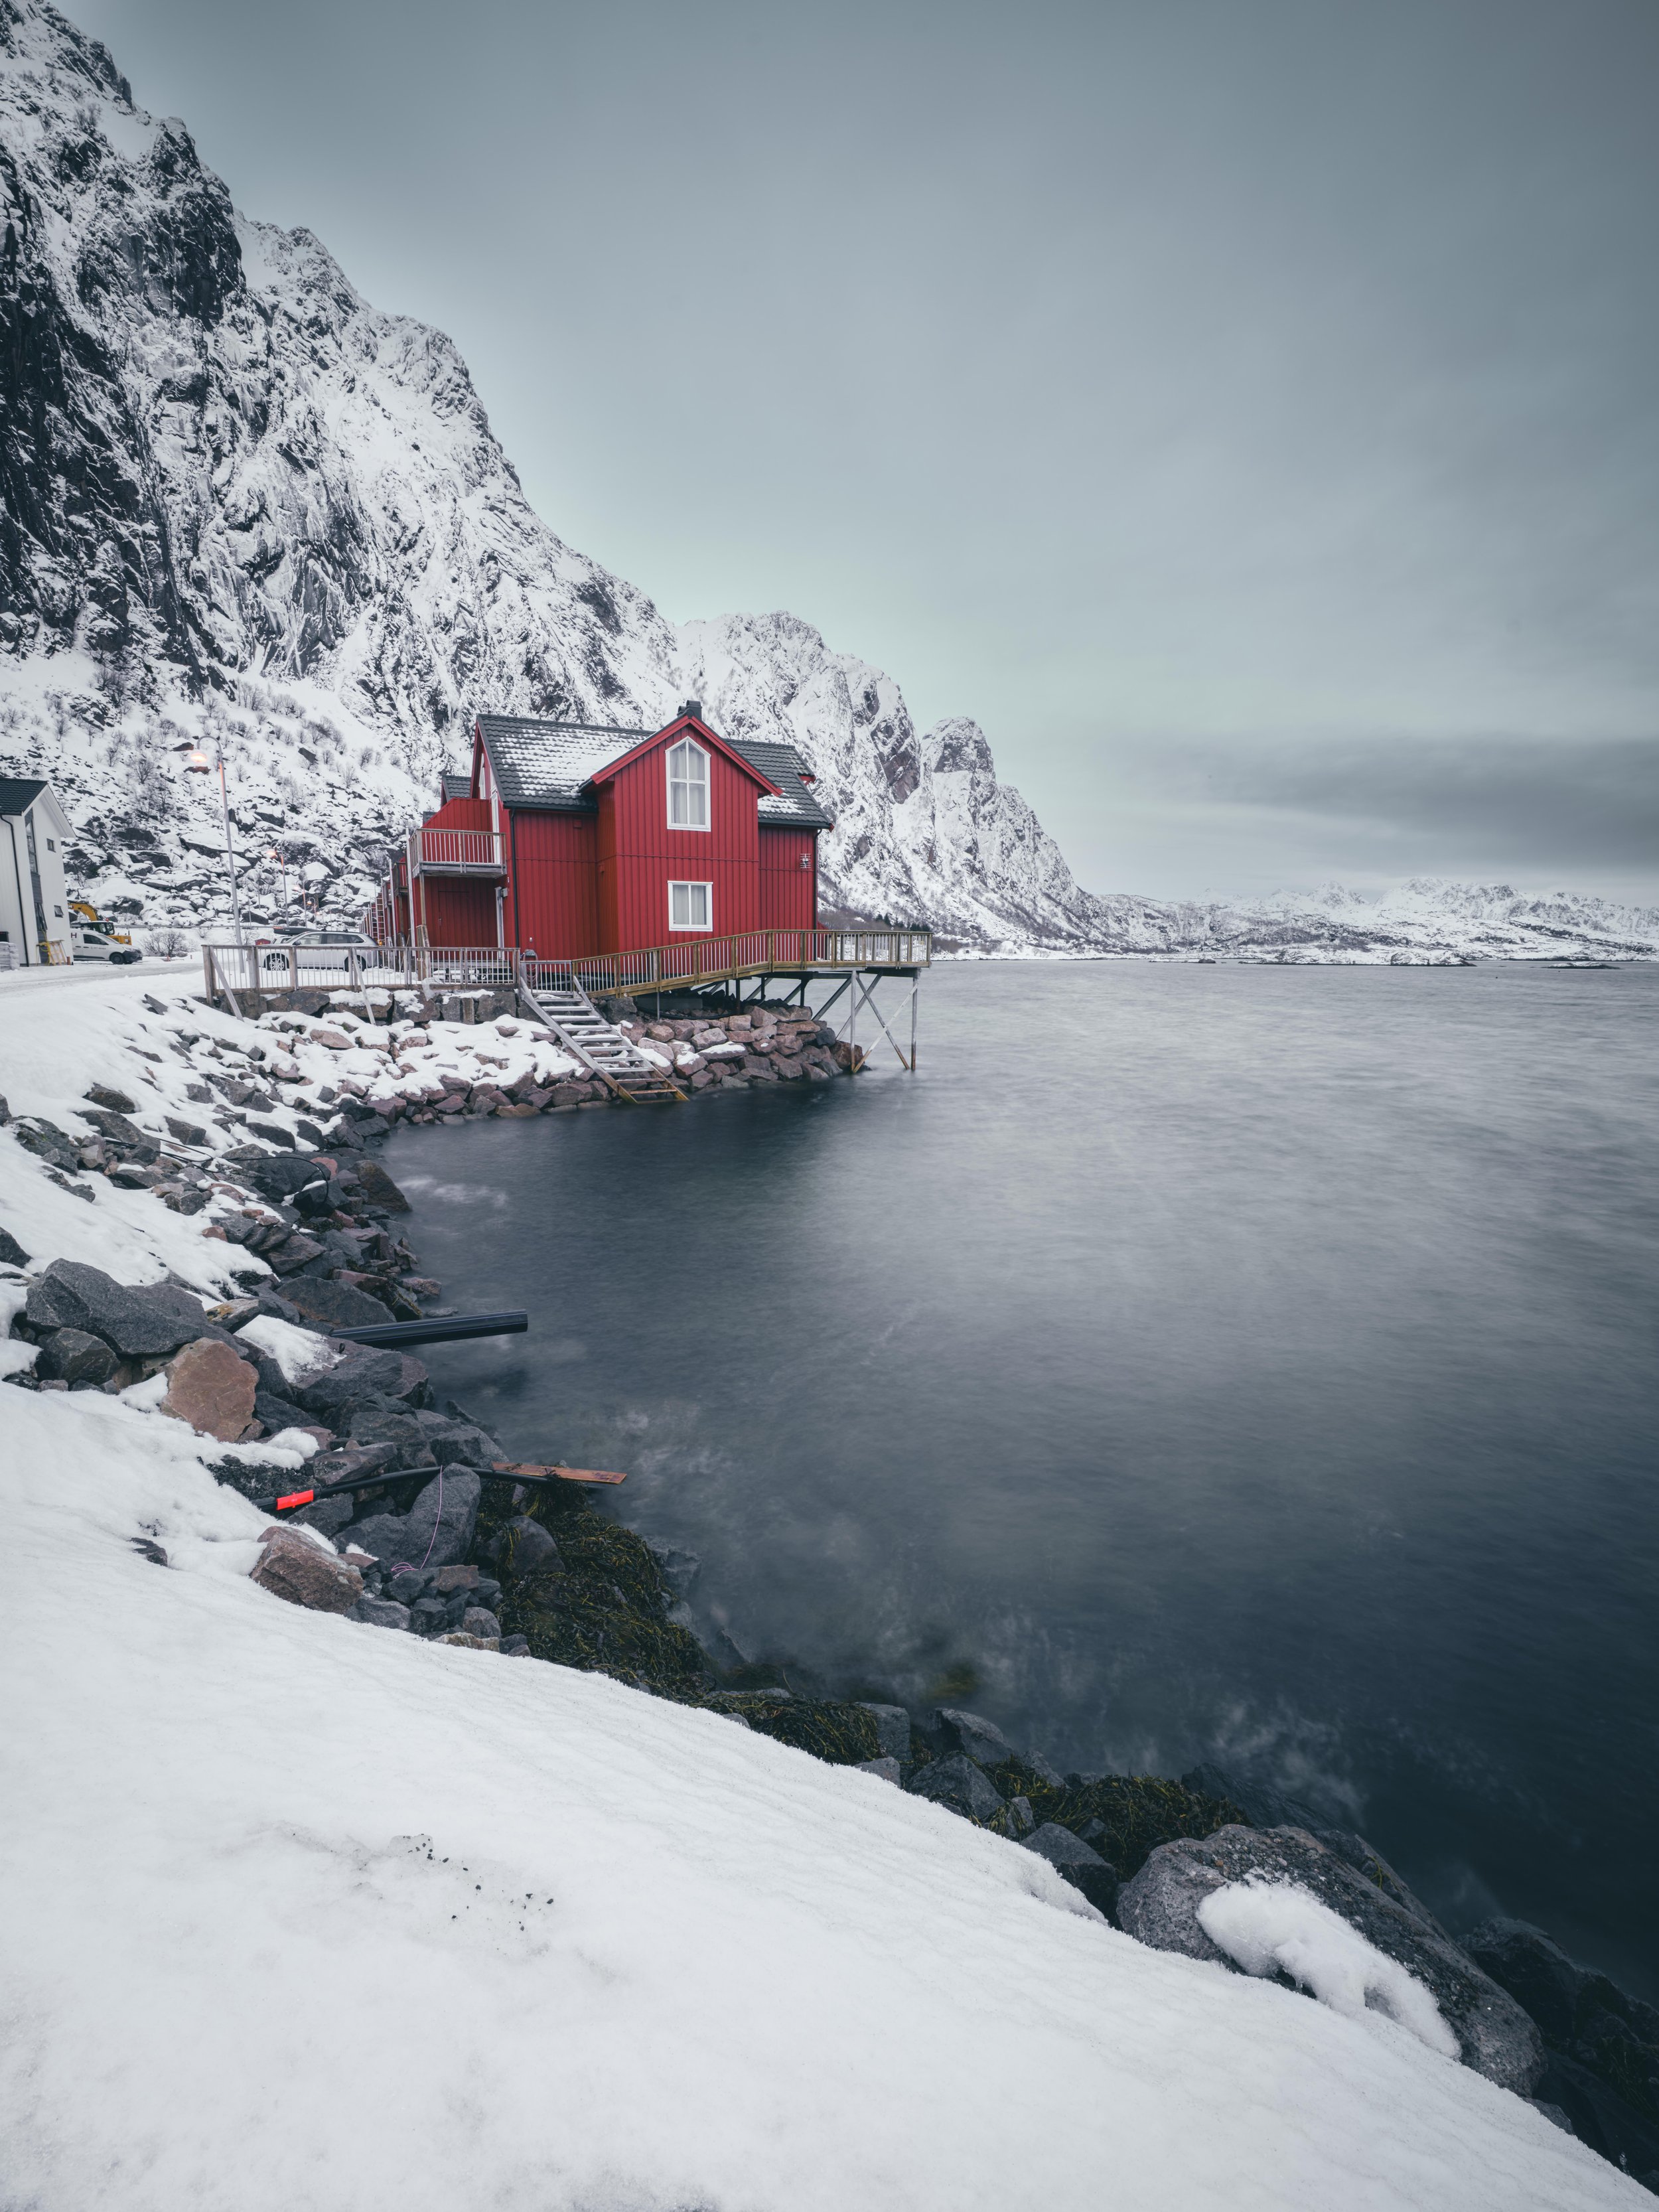
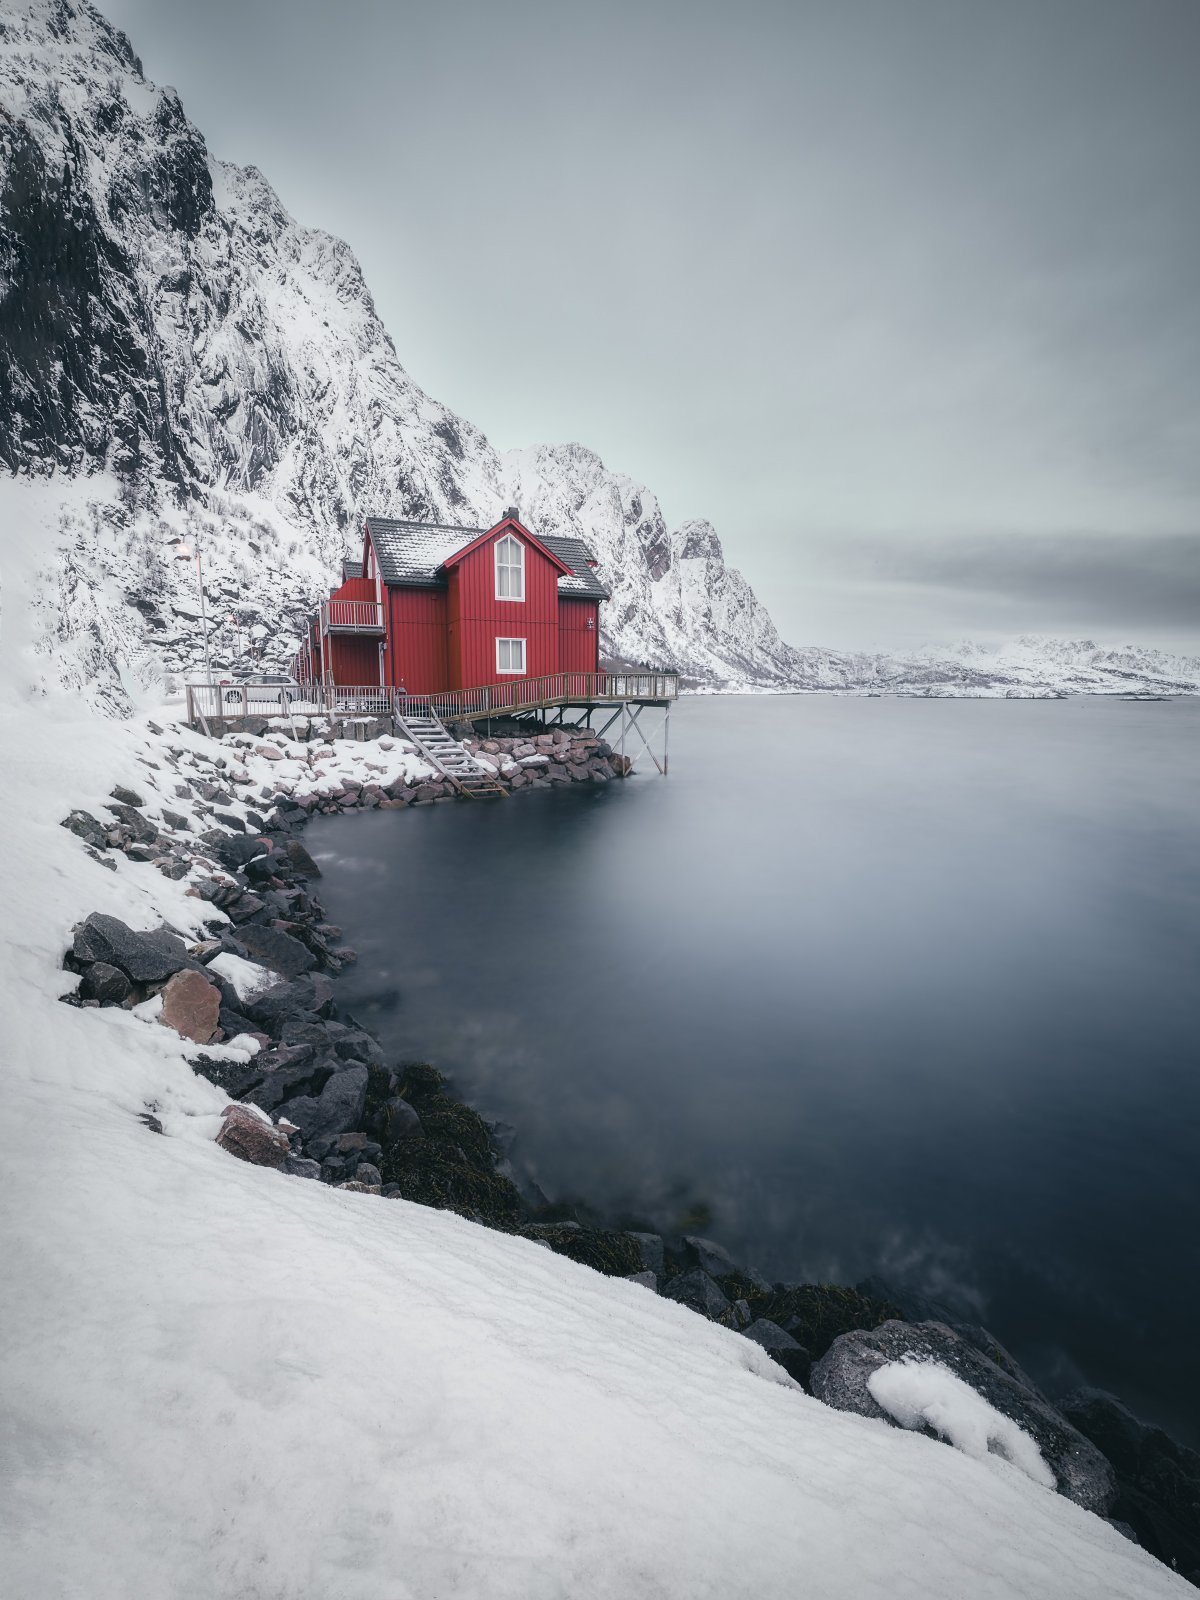
A clean canvas is essential for allowing your final image to shine. Whether it's removing distractions or refining details, the spot healing brush or content aware remove tool in Lightroom can definitely help. I always tidy up the frame, ensuring that every element contributes harmoniously to the narrative I’m trying to tell. With each imperfection erased, the viewer is invited to immerse themselves fully in the landscape, uninterrupted by distractions.
Step 7: White Border: Embracing Timeless Elegance
Finally, I frame my photograph with a classic white border. Beyond aesthetics, this border serves as a subtle nod to traditional prints, grounding the image in a timeless elegance. It's a finishing touch that adds that extra oomph.
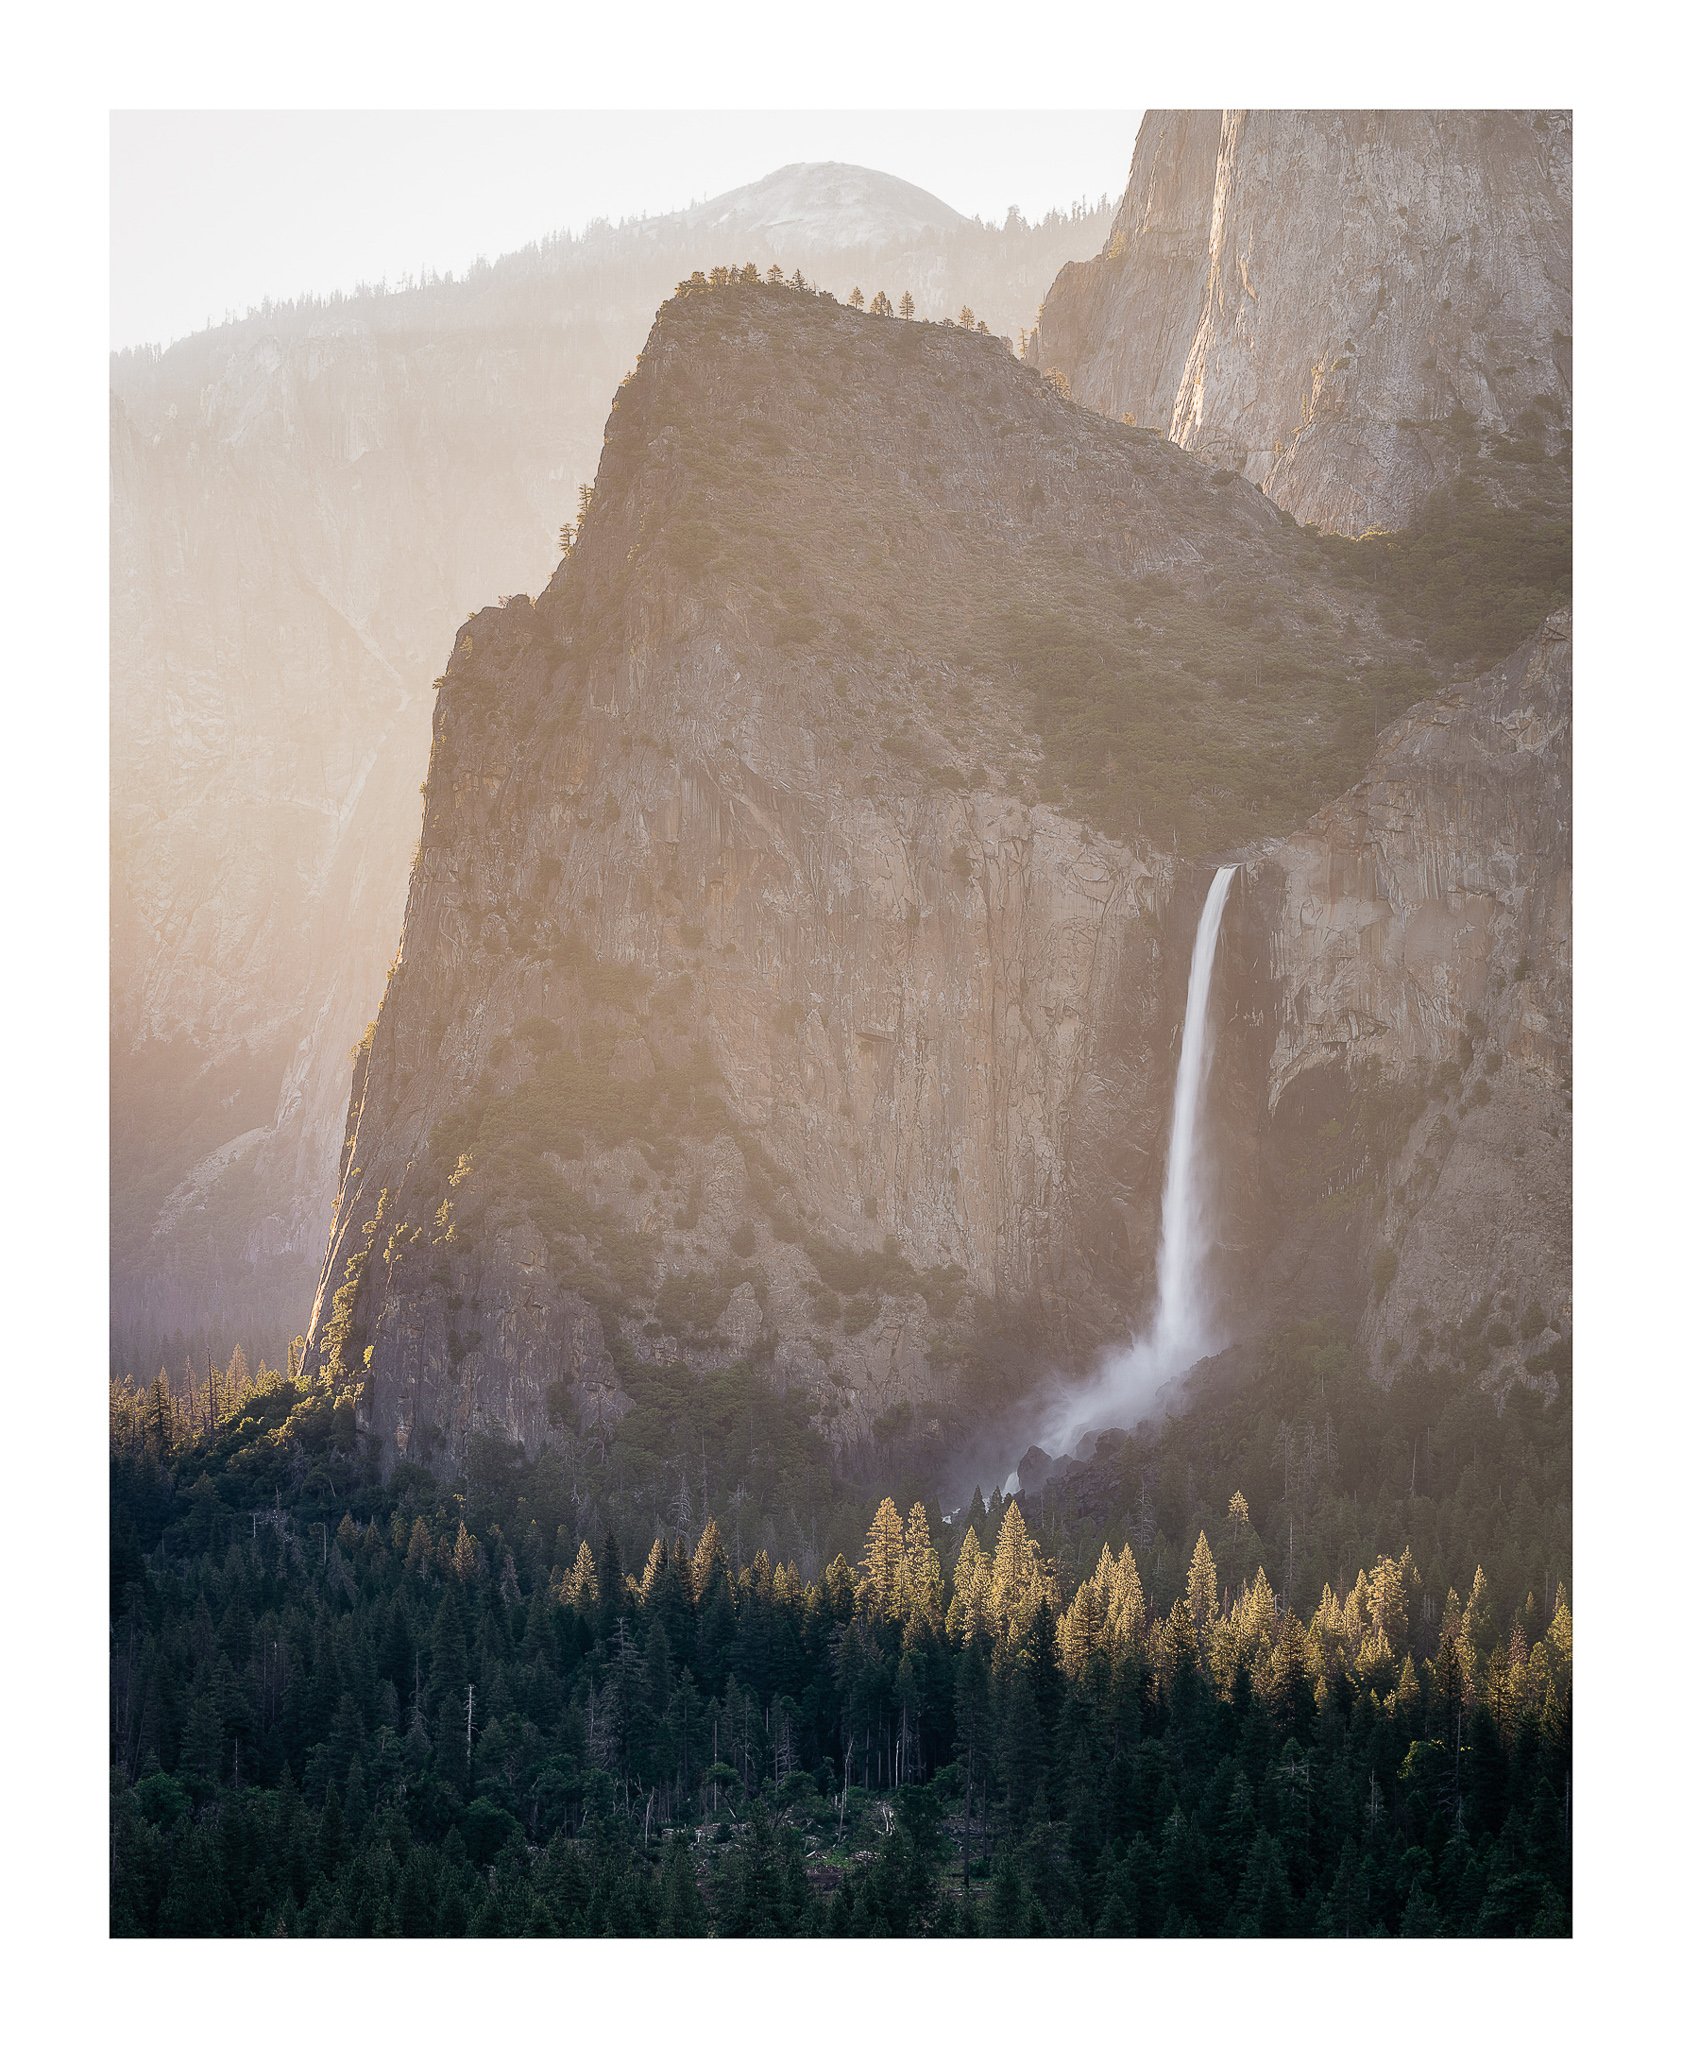
These seven steps represent the culmination of countless hours of experimentation and refinement. So, the next time you set out to edit one of your images, try some of the above mentioned techniques with your workflow to see if it’s something you like.
Watch Video Here
Have a great week!
Mark D.
