
Typically, when I begin an edit on one of my landscape photos the very first thing I do is try and determine exactly where I think the viewers eye will travel throughout my image. And, at the same time I look for any possible distractions that could compete for the viewers attention. I always want the viewer to be drawn away from the edges and corners of my photo and into the center portion of the image. I’ve come to the conclusion that the longer a viewers eye lingers around the edges or corners of an image the higher the likelihood they’ll abandon it to look at something else. And, my end goal is always the same when editing photos and that’s to maximize the amount of time the viewer spends looking at my image, and this is where a vignette comes in.
Now I know a vignette is not the most exciting editing tool to discuss, but when used effectively it can be a powerful option for creating a focused and dramatic landscape photo. A vignette has a unique ability to create a concentrated effect that directs the viewers attention to certain areas of your scene while at the same time directing the viewers eye away from other areas. But, like most things in photography there isn’t a one size fits all approach and certainly not when it comes to creating a vignette either.
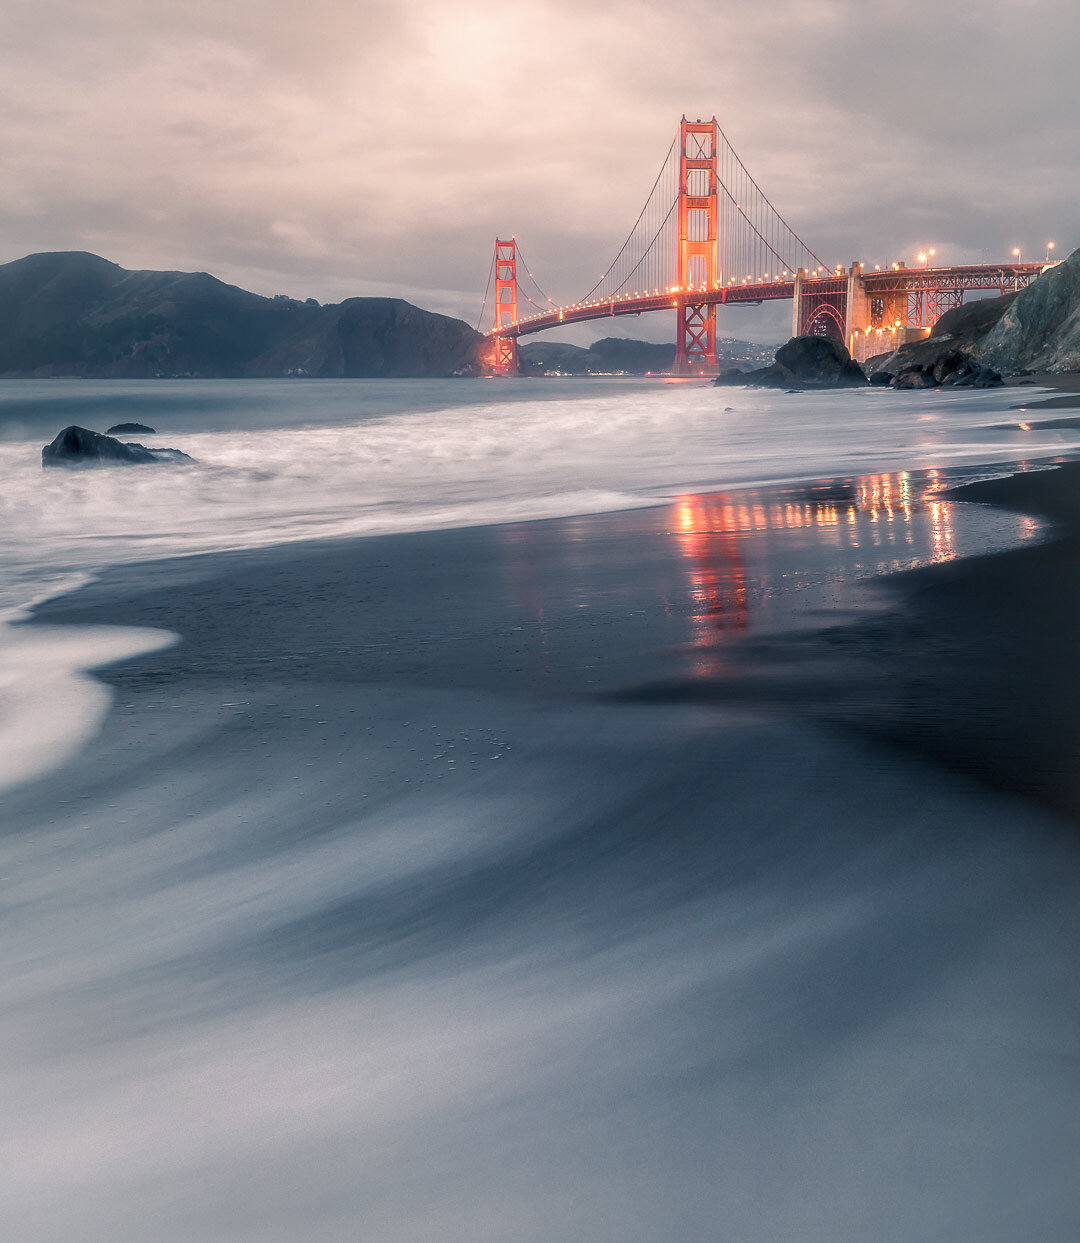
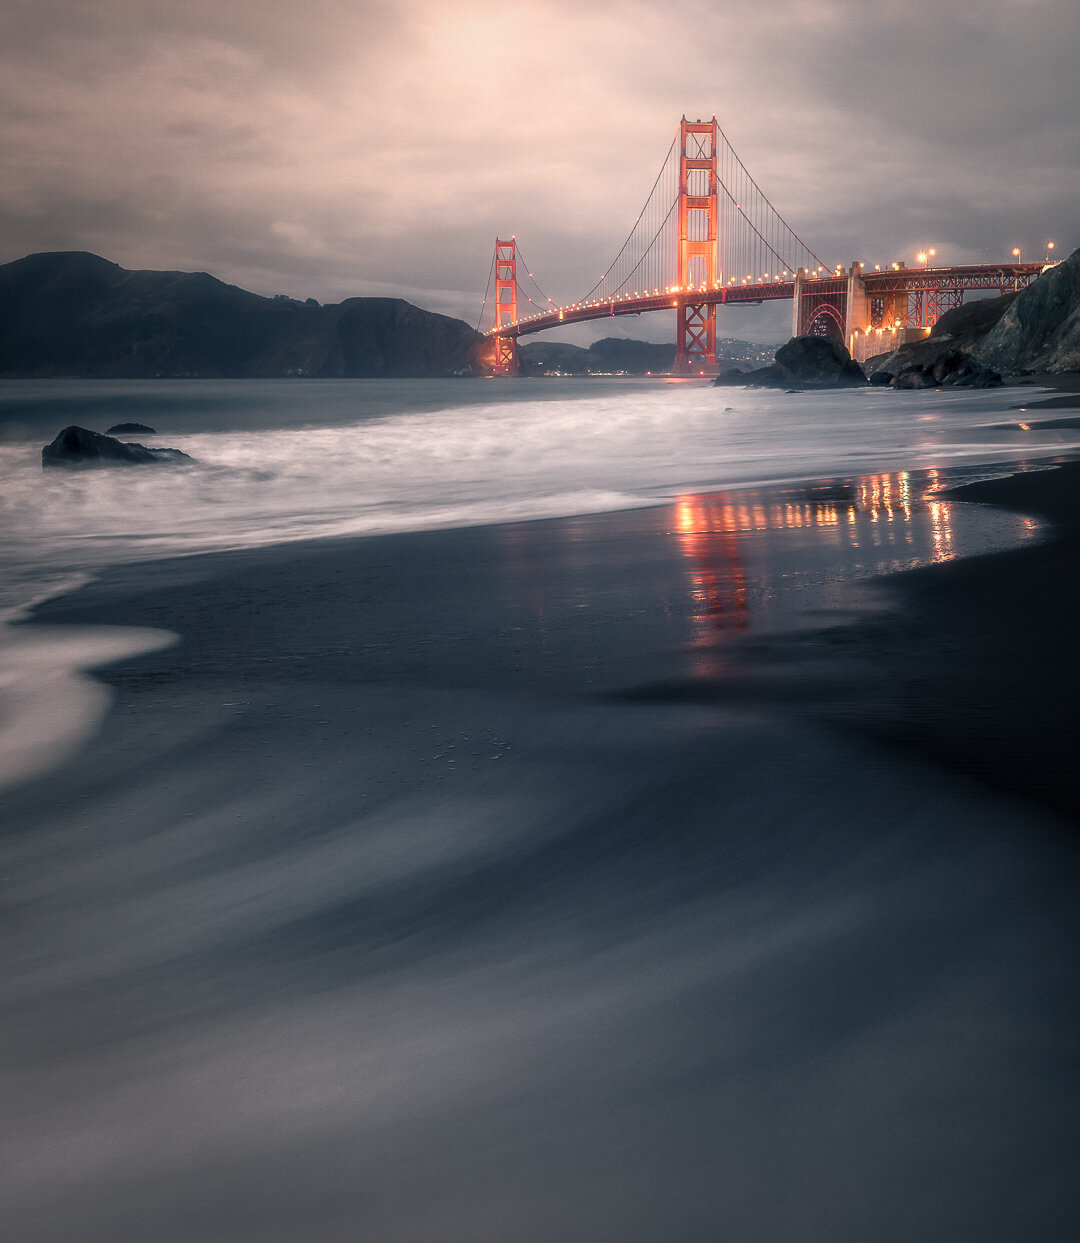
In this article I want to share with you four ways you can improve your landscape photos by applying a vignette inside of Lightroom. If you’re not familiar with what a vignette is, it’s basically the act of darkening the corners or edges of an image while leaving the center area brighter. The human eye always gravitates to the brighter areas of a photograph and a vignette is a great way to draw the viewers attention into your scene.
Vignette Slider
Perhaps the easiest and most common way to apply a vignette is by using the dedicated vignette slider. This isn’t the approach I use most often, but it is the easiest and fastest method. Within Lightroom you have the ability to determine how dark or bright you’d like to make the vignette along with the size and shape of the center area.

Perhaps one of the more important adjustments is the amount of feather in your vignette which determines how quickly the transition of the vignette occurs. I generally keep the feather between 50 and 80 in order to keep the transition as subtle as possible.

Radial Filter
This is one of my favorite applications for creating a custom vignette. Often is the case where the main area of interest is not in the dead center of your image and this is where creating a custom vignette is a must. The trick here is to be sure to check the invert box be esther the Feather slider to reverse the effect of the radial filter. Then you adjust the exposure level and the amount of feather you want to apply.

Graduated Filter
A similar use case to that of the radial filter except this method is better served when the need for creating a circular or oval vignette isn’t required. However using this method doesn’t require the need to select an inverse box, but the same exposure and feather approach still applies.

Adjustment Brush
This is my favorite method for creating a custom vignette. This gives you all the power and control to create any type of vignette that complements the specific image you’re working on. I like to change the zoom level on my photo to 1:4 or 1:8 in order to give myself plenty of room around my image to work. Then just select the adjustment brush, adjust the size and flow of your brush. The flow is the amount of the effect that’s released on a single brush stroke - I keep this around 50 to 70. Next just make your exposure adjustment and then begin painting the vignette around the edges and corners of your photo. I generally like to start a brush stroke on the image in the corners and then swipe to the outside of the frame.

Out of all the photo editing wizardry available to us today, I’ve found there to be only one editing effect that I use on just about every single one of my landscape photos and that’s a vignette. I find it to be the easiest and fastest way to create a powerful, focused and dramatic landscape photo. I hope this article was helpful and that you were able to pick up some useful information that you can apply to your landscape photos moving forward.
As always, thanks for reading and sharing!
Mark