
How many of you can relate to this scenario? You encounter a scene that really grabs your attention, it has all the elements you look for in a great composition - spectacular foreground that works the eye towards the mid-ground which in turn leads the viewer towards a majestic mountain range in the background. You grab your wide angle lens to capture the entire scene, click the shutter, review the image - you couldn’t be happier with the results. You arrive back home, load the image on your computer, but somethings off, the image lacks the grandiose quality that first caught your attention. The foreground and mid-ground look solid, but the the mountain range in the background no longer reflects what you saw with your naked eye - it shrunk! This shrinking effect is a common issue with wide angle photography where your background elements take on a miniaturized look - especially mountains. In this video, I’ll show you a cool trick to quickly stretch those shrunken mountains to more closely resemble what they appeared like when you first captured the image. The process is very straightforward and only consists of three simple steps.
Step 1:
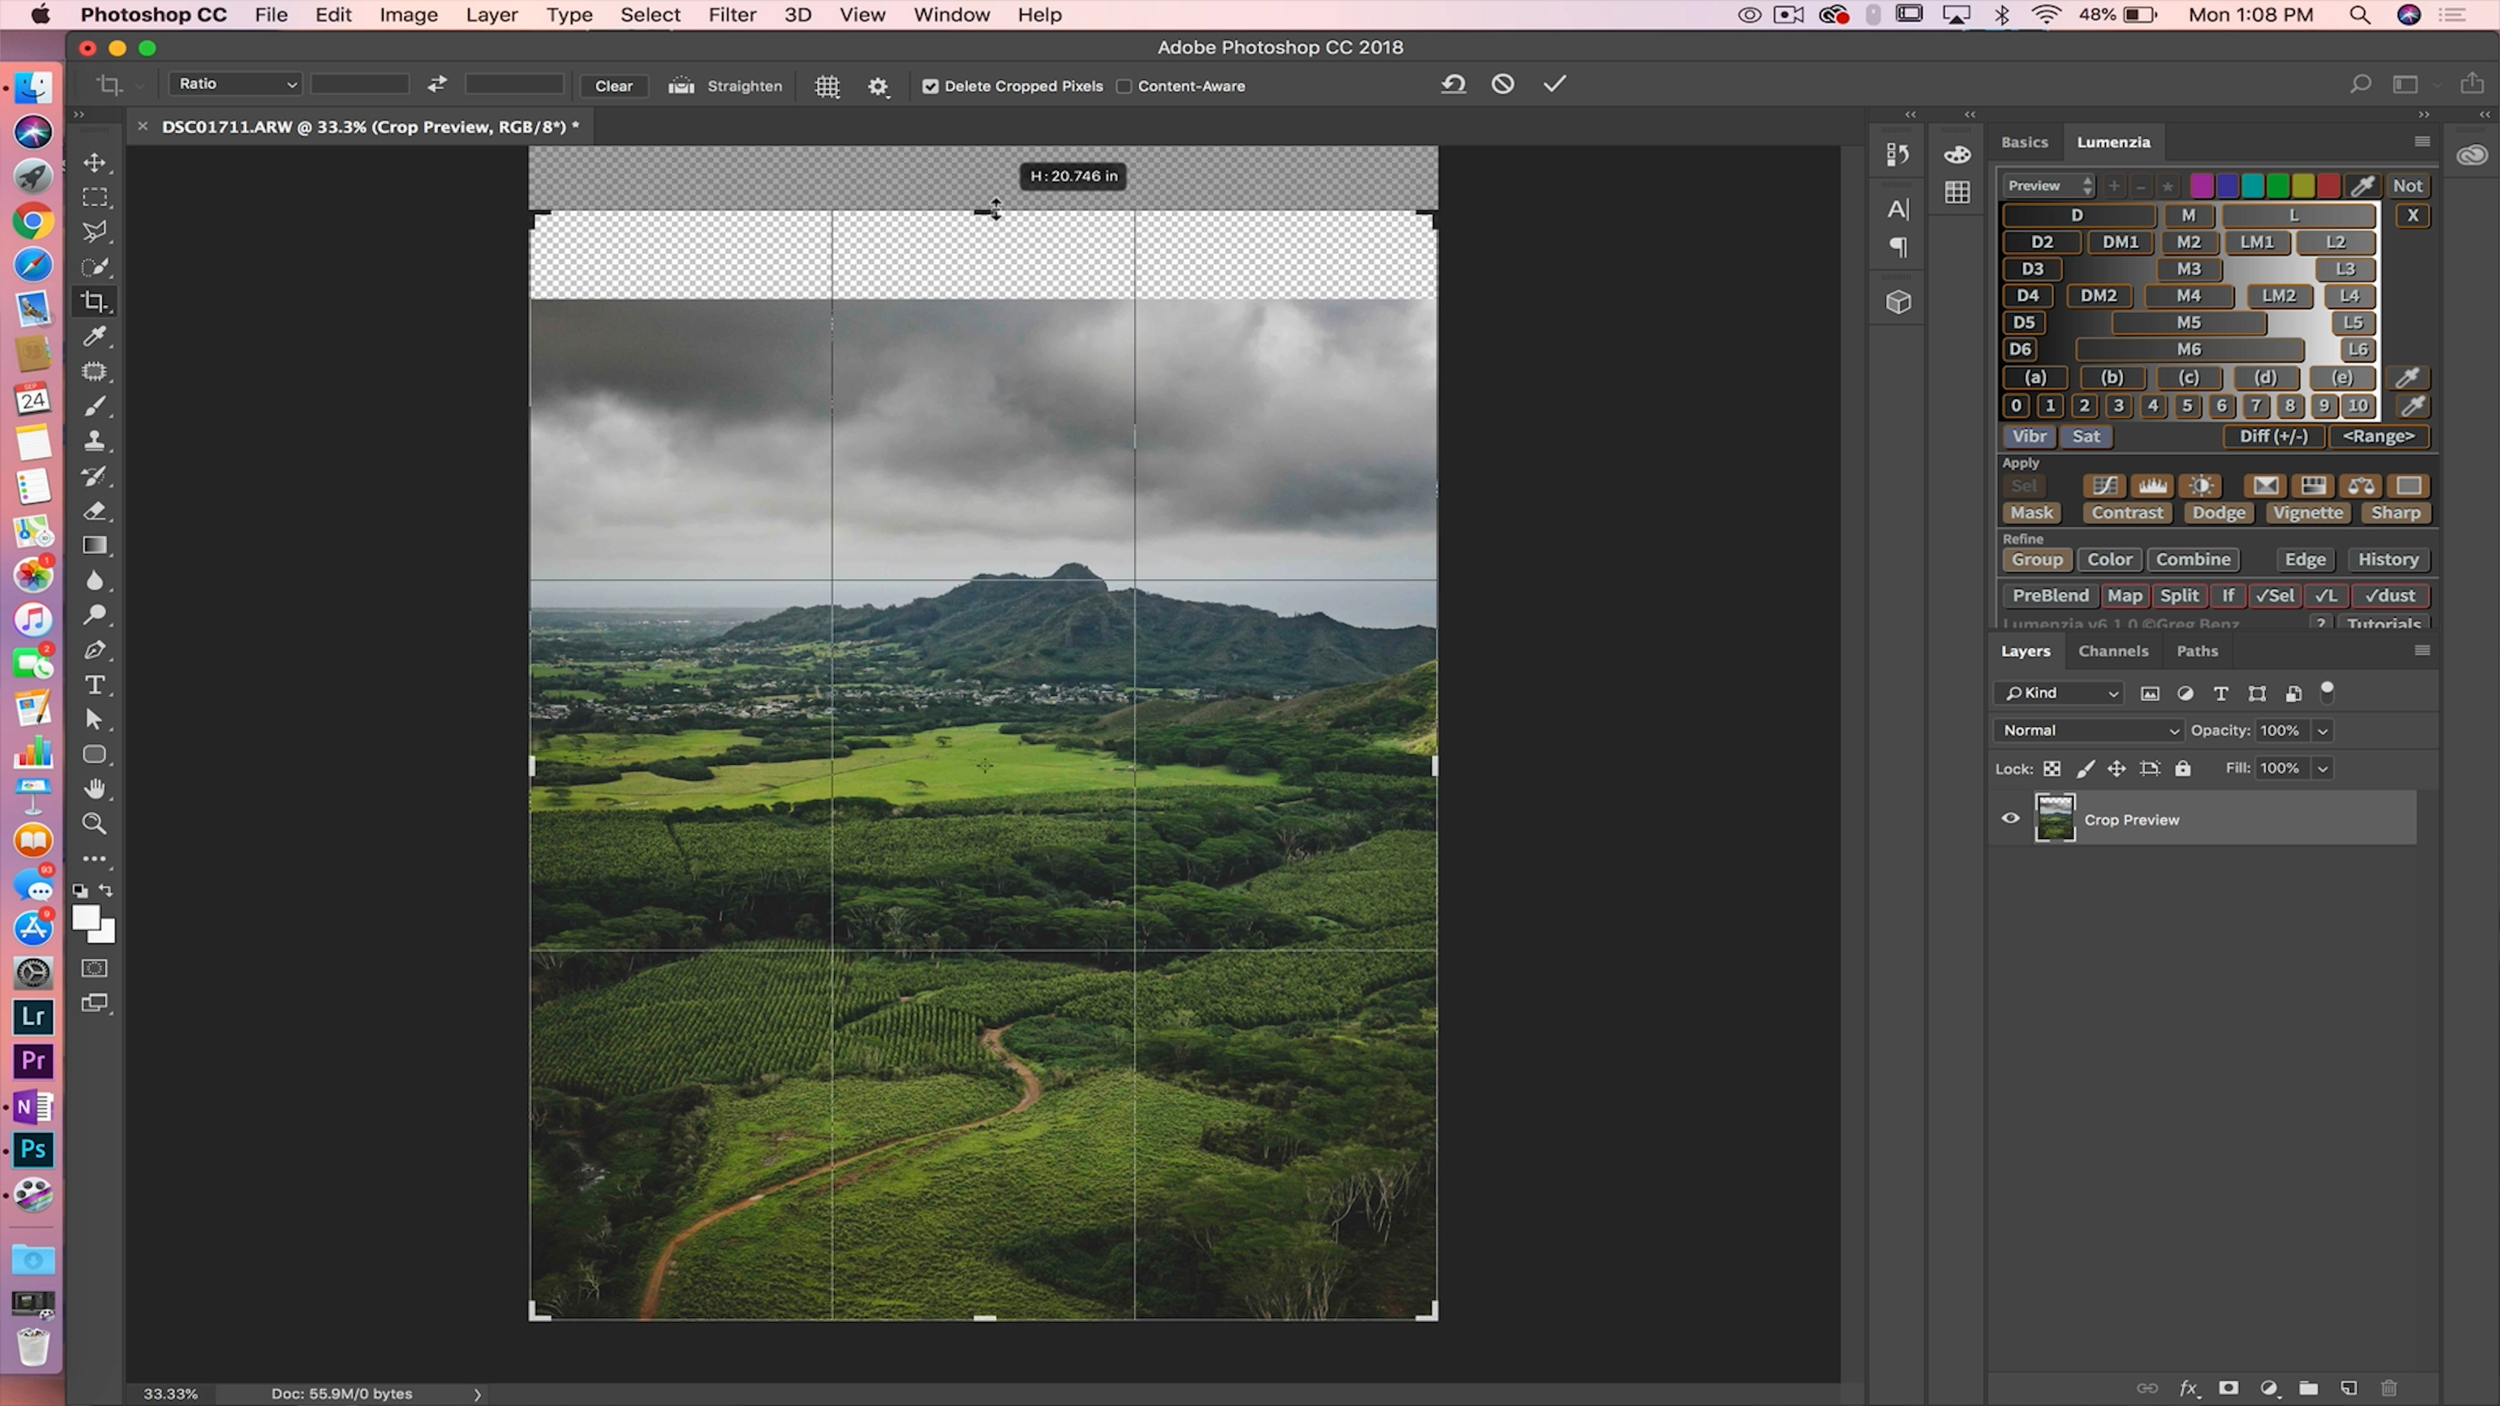
Load your image in Photoshop and grab your crop tool, you’re going to perform a “reverse crop” - instead of cropping in, you’re going to crop out, in order to create additional room to stretch your photo.
Step 2:
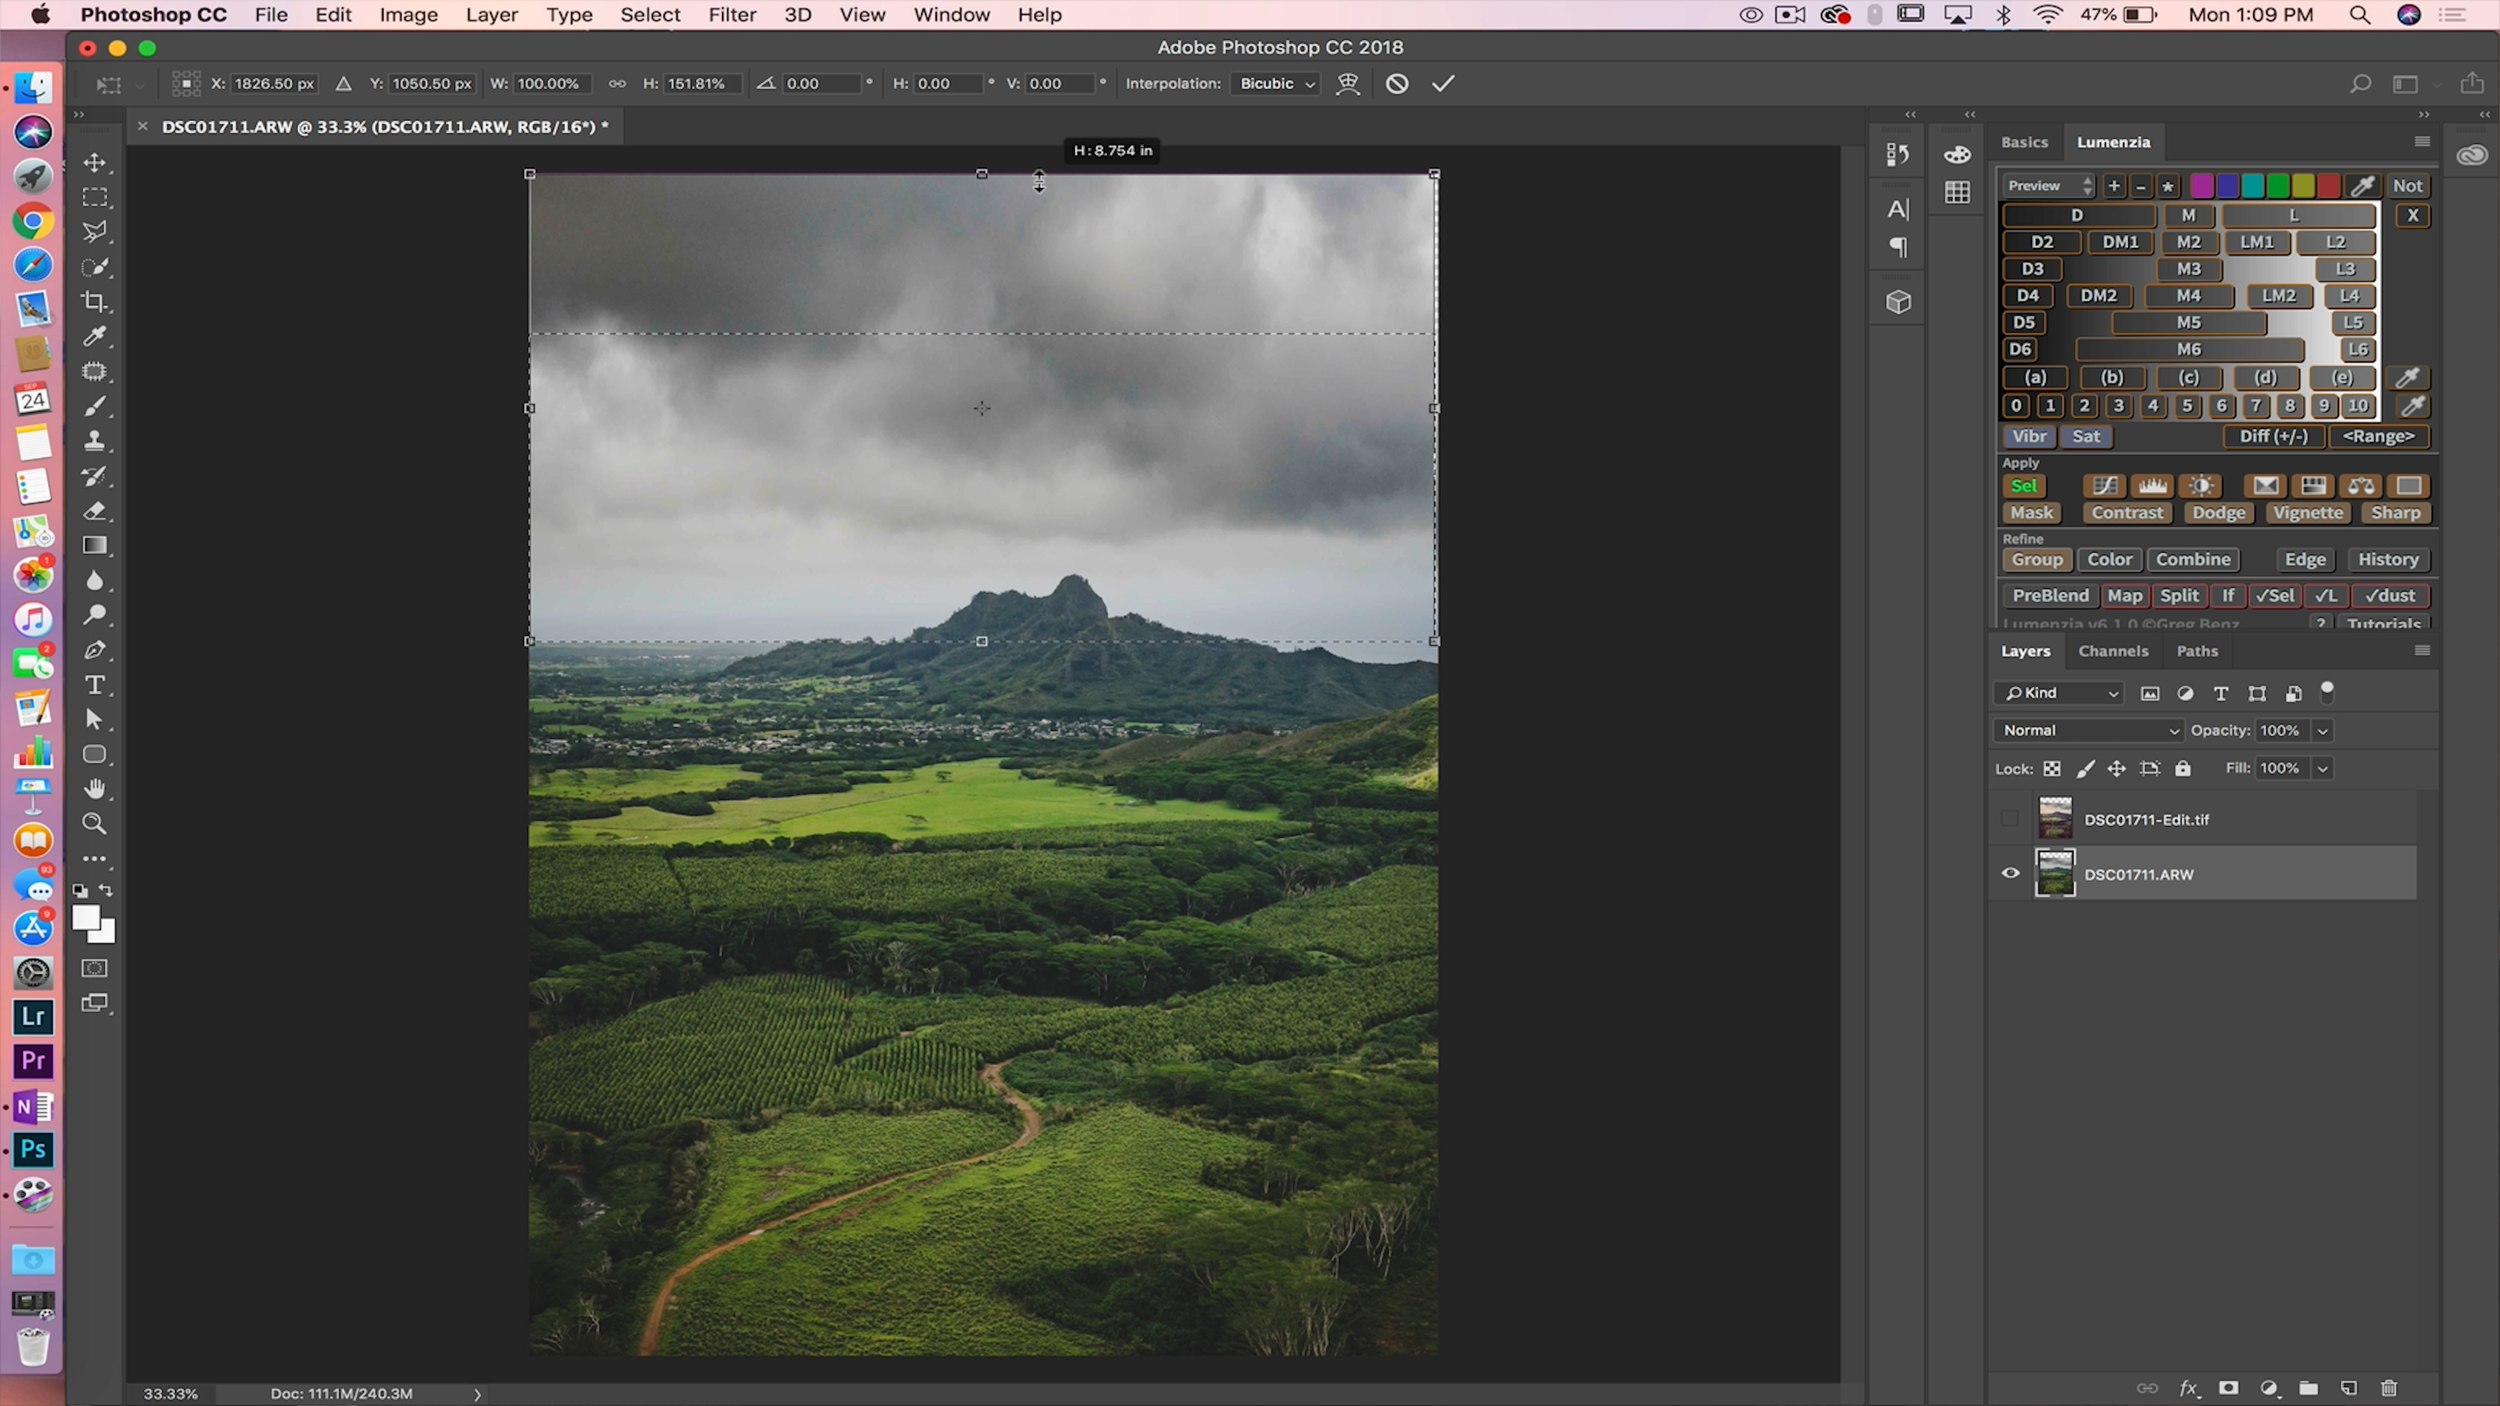
Now, select your rectangular marquee tool and make a selection along your horizon line across your image and to the top of the photo. Next, you’ll want to right click your selection and click free transform.

Step 3:
For the final step, you simply grab one of the anchor points at the top of your selection and drag your image to where your crop ends and select the check mark to confirm the transformation.
And that’s it, you’ve successfully recreated the scene as you saw it in the moment. Wide angle lenses are a necessity in landscape photography, but they don’t come without their distortion issues, however with a bit of finesse and Photoshop wizardry these issues can easily be resolved.
Mark
